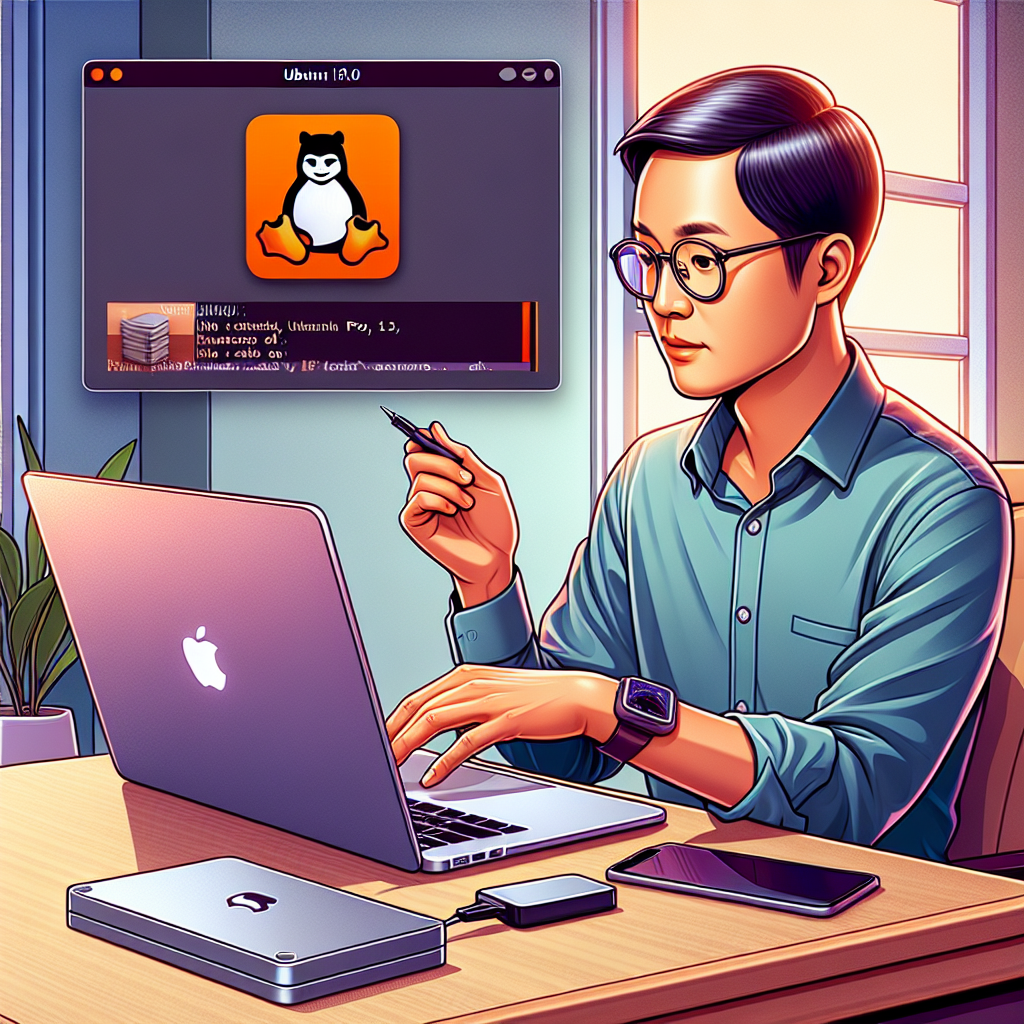
Installing Ubuntu 19.10 on a MacBook Pro 13,1
Welcome to Continuous Improvement, the podcast where we explore ways to make our lives better, one step at a time. I’m your host, Victor, and today we’re going to talk about a topic that might interest our fellow software developers out there. Have you ever found yourself frustrated with a particular operating system? Well, I certainly have, and today I want to share with you my journey from macOS to Ubuntu on my MacBook Pro.
As a software developer, having the right tools and environment to work in is essential. But sometimes, the operating system you’re using can prove to be a roadblock to your productivity. That’s when I decided to explore an alternative, and after some research, I found that Ubuntu could be the answer.
One of the reasons I wanted to switch from macOS Catalina to Ubuntu was the amount of disk space that Xcode and its bundled tools were taking up. Up to 10GB of disk space just for one software package! As a developer, I couldn’t afford to waste precious time waiting for slow downloads and updates to finish.
Now, the first concern that popped into my mind was whether my MacBook Pro hardware would be compatible with an open-source Linux distribution like Ubuntu. But to my surprise, thanks to the efforts of the community, many features worked right out of the box with a fresh Ubuntu install. The screen, keyboard, touchpad, and Wi-Fi all worked seamlessly. The only feature that required a workaround was audio, which I managed to solve by using USB Type-C headphones or connecting to an external monitor with built-in speakers.
If you’re curious about trying Ubuntu on your MacBook Pro, the process is actually quite simple. First, you’ll need to download Ubuntu 19.10 from the official Ubuntu website. Once you have the ISO file, you’ll create a bootable USB stick using a tool called Etcher. There’s a helpful guide available on the Ubuntu website that will walk you through this step-by-step. After that, restart your MacBook, press the Option key, and select the USB stick as the boot device. From there, you can try Ubuntu and proceed with the installation if it suits your needs.
As a developer, I found that setting up essential tools like Git on Ubuntu was a breeze. With a simple command, you can install Git and start using it right away. This is a much more straightforward process compared to macOS, which can restrict your freedom in various ways.
It’s important not to become too comfortable with a single platform. By exploring alternative operating systems like Ubuntu, you can embrace the open-source community and experience the freedom of choice. At times, big corporations may not always act in our best interest when it comes to protecting our personal data from government surveillance. That’s where open-source software shines, giving us the opportunity to take control of our own digital lives.
Before we wrap up, I want to share a couple of additional resources if you decide to make the switch to Ubuntu on your MacBook Pro. If you want to get Bluetooth working, there’s a handy script available on GitHub that you can use. And if you’re also looking to get your camera working, there’s a detailed guide available to help you install the necessary driver.
Well, that’s all for today’s episode of Continuous Improvement. I hope that this discussion on transitioning from macOS to Ubuntu has given you some valuable insights. Remember, don’t be afraid to explore alternatives and continuously improve your work environment. Stay tuned for our next episode, where we’ll tackle another exciting topic. Until then, keep striving for continuous improvement in all aspects of your life.