Welcome back to another episode of Continuous Improvement, the podcast where we explore tips and strategies to enhance your app development skills. I'm your host, Victor. In today's episode, we're going to talk about a common issue that many developers face – maintaining app functionality in the background. Have you ever experienced your app losing its functionality when users switch to other apps or lock their screens? It can be quite frustrating, right? Well, worry no more because we have some solutions for you!
But before we dive into that, let's quickly talk about the Android app Activity lifecycle. When a user switches away from your app, the activity is terminated, and the onDestroy() method is triggered. While this behavior is necessary for memory management and battery life, it can cause your app's states and functionalities to be lost.
To overcome this challenge, we recommend refactoring your app by separating background functionalities into a service. A service is an application component capable of performing long-running operations in the background, independent of the user interface.
Let me give you an example of how to create a service in Kotlin:
import android.app.Service

class MyService : Service() {

    override fun onBind(intent: Intent): IBinder? {
        return null
    }

    override fun onCreate() {
      // Place your service logic here
    }

    override fun onDestroy() {
      // Clean up your service logic here
    }

}
Once you've created your service, remember to define it in your AndroidManifest.xml file to ensure it is recognized by the system:
<application>
    ...
    <service android:enabled="true" android:name="com.victorleungtw.myapp.services.MyService"></service>
</application>
Now, if you want to start the service in your activity, simply add this line of code:
startService(Intent(this, MyService::class.java))
And, to stop the service, include this line:
stopService(Intent(this, MyService::class.java))
These changes will improve the structure of your app, but your app still won't be able to run indefinitely in the background. To achieve that, you need to add two more methods within your service. Here's an example:
class MyService : Service() {
    // ... existing code

    @RequiresApi(Build.VERSION_CODES.O)
    override fun onStartCommand(intent: Intent?, flags: Int, startId: Int): Int {
        val channelId =
                if (Build.VERSION.SDK_INT >= Build.VERSION_CODES.O) {
                    createNotificationChannel("my_service", "My Background Service")
                } else {
                    // If it's an earlier version, the channel ID is not used
                    ""
                }

        val notification: Notification = Notification.Builder(this, channelId)
                .setContentTitle("Title")
                .setContentText("Text")
                .build()
        startForeground(2001, notification)

        return START_STICKY
    }

    @RequiresApi(Build.VERSION_CODES.O)
    private fun createNotificationChannel(channelId: String, channelName: String): String {
        val channel = NotificationChannel(channelId,
                channelName, NotificationManager.IMPORTANCE_NONE)
        channel.lightColor = Color.BLUE
        channel.lockscreenVisibility = Notification.VISIBILITY_PRIVATE
        val service = getSystemService(Context.NOTIFICATION_SERVICE) as NotificationManager
        service.createNotificationChannel(channel)
        return channelId
    }
}
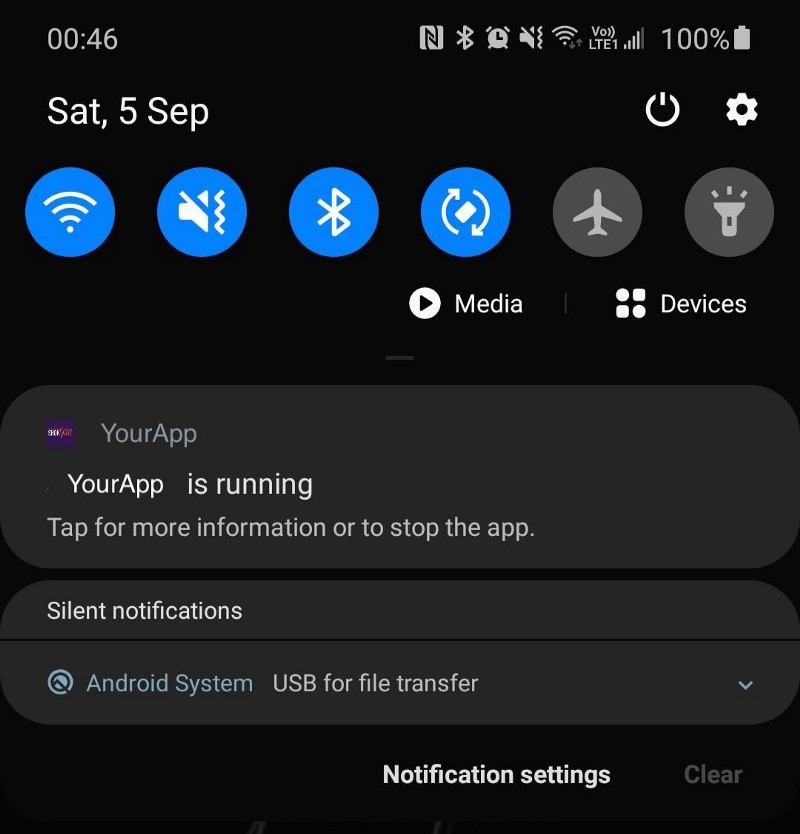
By creating a notification, you can inform users that your app continues to run in the background. This notification can be customized to match your app's branding and provide relevant information.
With these changes, your app can now run seamlessly in the background, maintaining functionalities like Bluetooth connectivity, data syncing, or playing music.
And that brings us to the end of today's episode of Continuous Improvement. I hope you found these tips helpful in enhancing your app's functionality in the background. Remember, a seamless user experience is crucial for app success. If you have any questions or suggestions for future episodes, feel free to reach out to me. Until then, keep coding and keep improving!