Setting Up Receiving Targets for Kafka Sink Connectors

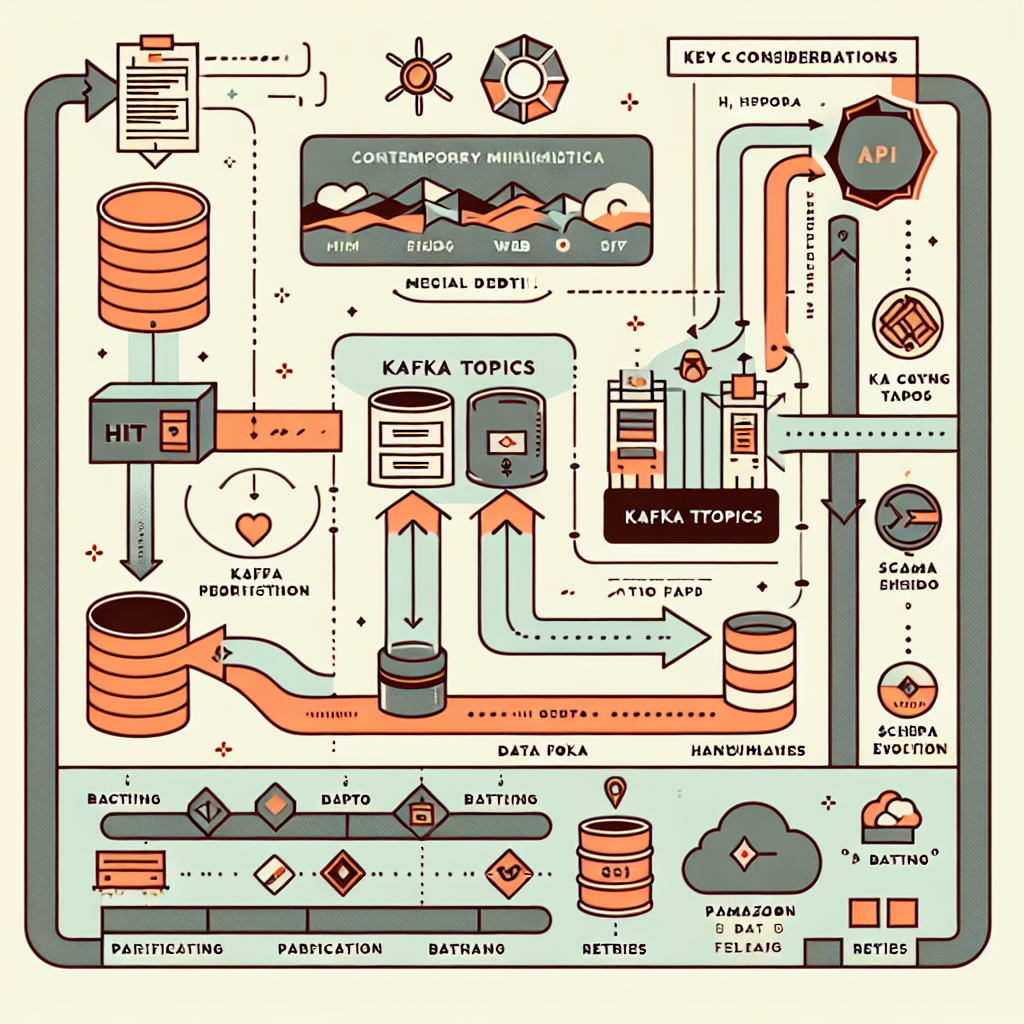
Integrating Kafka with external systems is a critical step in building scalable and efficient data pipelines. Kafka Sink Connectors simplify this process by exporting data from Kafka topics to external destinations such as APIs or cloud storage. In this blog post, I’ll explore how to set up two common receiving targets:
- HTTP Endpoint: Ideal for real-time event streaming to APIs.
- Amazon S3 Bucket: Perfect for batch processing, analytics, and long-term storage.
These configurations enable seamless integration between Kafka topics and external systems, supporting diverse use cases such as real-time event processing and durable storage.
1. Setting Up an HTTP Endpoint for Kafka HTTP Sink Connector
The HTTP Sink Connector sends records from Kafka topics to an HTTP API exposed by your system. This setup is ideal for real-time event-driven architectures where data needs to be processed immediately.
Key Features of the HTTP Sink Connector
- Supports Multiple HTTP Methods: The targeted API can support
POST,PATCH, orPUTrequests. - Batching: Combines multiple records into a single request for efficiency.
- Authentication Support: Includes Basic Authentication, OAuth2, and SSL configurations.
- Dead Letter Queue (DLQ): Handles errors gracefully by routing failed records to a DLQ.
Prerequisites
- A web server or cloud service capable of handling HTTP requests (e.g., Apache, Nginx, AWS API Gateway).
- An accessible endpoint URL where the HTTP Sink Connector can send data.
Configuration Steps
1. Set Up the Web Server
- Deploy your web server (e.g., Apache, Nginx) or use a cloud-based service like AWS API Gateway.
- Ensure the HTTP endpoint is accessible via a public URL (e.g.,
https://your-domain.com/events).
2. Create the Endpoint
- Define a route or endpoint URL (e.g.,
/events) to receive incoming requests. - Implement logic to handle and process incoming HTTP requests efficiently. The targeted API can support POST, PATCH, or PUT methods based on your application requirements.
3. Handle Incoming Data
- Parse and process the payload received in requests based on your application's requirements.
- Optionally log or store the data for monitoring or debugging purposes.
4. Security Configuration
- Use HTTPS to encrypt data in transit and ensure secure communication.
- Implement authentication mechanisms such as API keys, OAuth tokens, or Basic Authentication to restrict access.
2. Setting Up an Amazon S3 Bucket for Kafka Amazon S3 Sink Connector
The Amazon S3 Sink Connector exports Kafka topic data into Amazon S3 buckets hosted on AWS. This setup is ideal for scenarios requiring durable storage or batch analytics.
Key Features of the Amazon S3 Sink Connector
- Exactly-Once Delivery: Ensures data consistency even in failure scenarios.
- Partitioning Options: Supports default Kafka partitioning, field-based partitioning, and time-based partitioning.
- Customizable Formats: Supports Avro, JSON, Parquet, and raw byte formats.
- Dead Letter Queue (DLQ): Handles schema compatibility issues by routing problematic records to a DLQ.
Prerequisites
- An AWS account with permissions to create and manage S3 buckets.
- IAM roles or access keys with appropriate permissions.
Configuration Steps
1. Create an S3 Bucket
- Log in to the AWS Management Console.
- Navigate to the S3 service and create a bucket with a unique name (e.g.,
my-kafka-data). - Select the AWS region where you want the bucket hosted (e.g.,
eu-west-1). - Configure additional settings like versioning, encryption, or lifecycle policies if needed.
2. Set Up Bucket Policies
To allow the Kafka Sink Connector to write data to your bucket, configure an IAM policy with appropriate permissions:
{
   "Version":"2012-10-17",
   "Statement":[
     {
         "Effect":"Allow",
         "Action":[
           "s3:ListAllMyBuckets"
         ],
         "Resource":"arn:aws:s3:::*"
     },
     {
         "Effect":"Allow",
         "Action":[
           "s3:ListBucket",
           "s3:GetBucketLocation"
         ],
         "Resource":"arn:aws:s3:::<bucket-name>"
     },
     {
         "Effect":"Allow",
         "Action":[
           "s3:PutObject",
           "s3:GetObject",
           "s3:AbortMultipartUpload",
           "s3:PutObjectTagging"
         ],
         "Resource":"arn:aws:s3:::<bucket-name>/*"
     }
   ]
}
Replace <bucket-name> with your actual bucket name.
This policy ensures that:
- The connector can list all buckets (s3:ListAllMyBuckets).
- The connector can retrieve bucket metadata (s3:GetBucketLocation).
- The connector can upload objects, retrieve them, and manage multipart uploads (s3:PutObject, s3:GetObject, s3:AbortMultipartUpload, s3:PutObjectTagging).
Key Considerations
For HTTP Endpoint:
- Batching: Configure batching in your connector settings if you need multiple records sent in one request.
- Retries: Ensure retry logic is implemented in case of transient network failures.
For Amazon S3 Bucket:
- Data Format: Choose formats such as JSON, Avro, or Parquet based on downstream processing needs.
- Partitioning: Use time-based or field-based partitioning to organize data efficiently within S3.
Conclusion
Setting up receiving targets for Kafka Sink Connectors enables seamless integration between Kafka topics and external systems like APIs or cloud storage. Whether you’re streaming real-time events to an HTTP endpoint or archiving data in Amazon S3, these configurations provide flexibility and scalability for diverse use cases.
By following this guide, you can ensure efficient data flow across your infrastructure while unlocking powerful capabilities for your Kafka ecosystem.