Setting up a Three-Tier Architecture on AWS
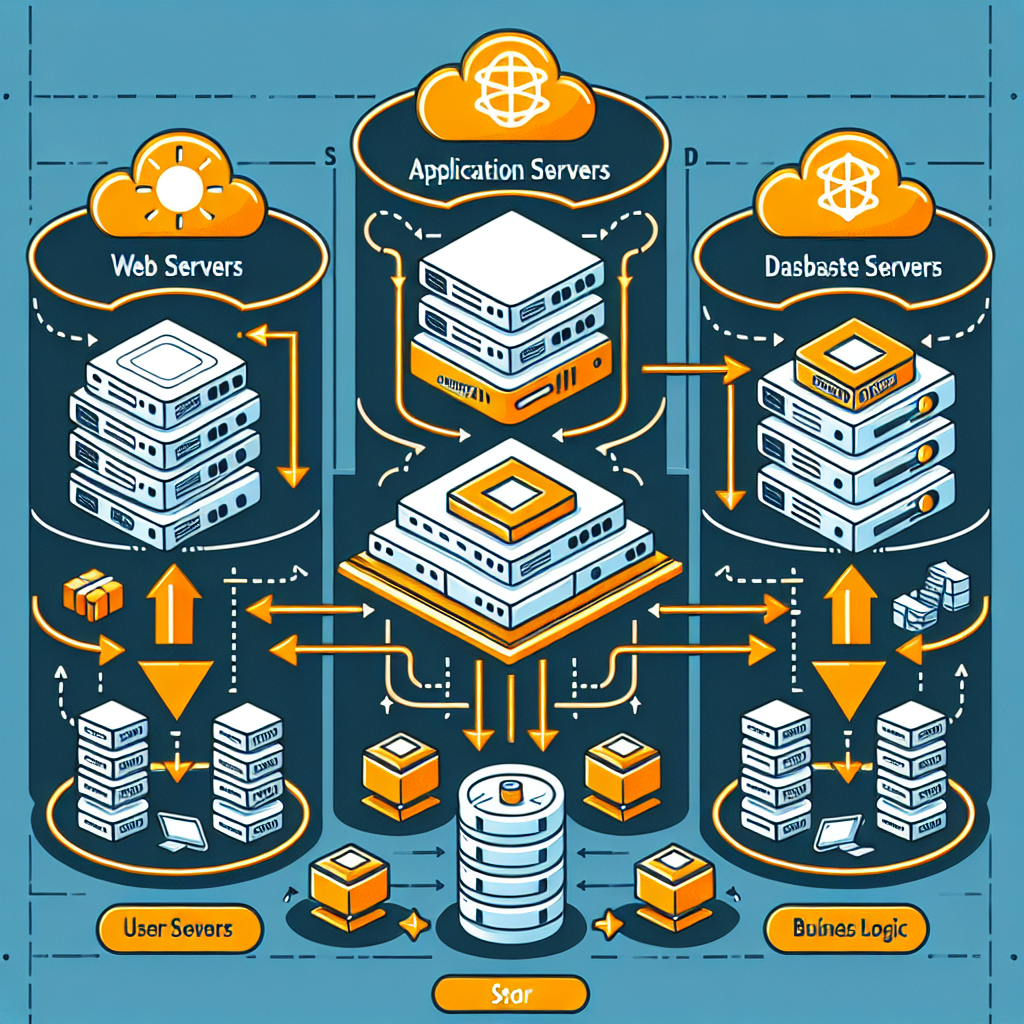
Today, I'm going to demonstrate how to use Virtual Private Cloud (VPC) services to set up a three-tier architecture on Amazon Web Services (AWS). Below is the architecture diagram that illustrates the setup, which is mainly divided into three layers.
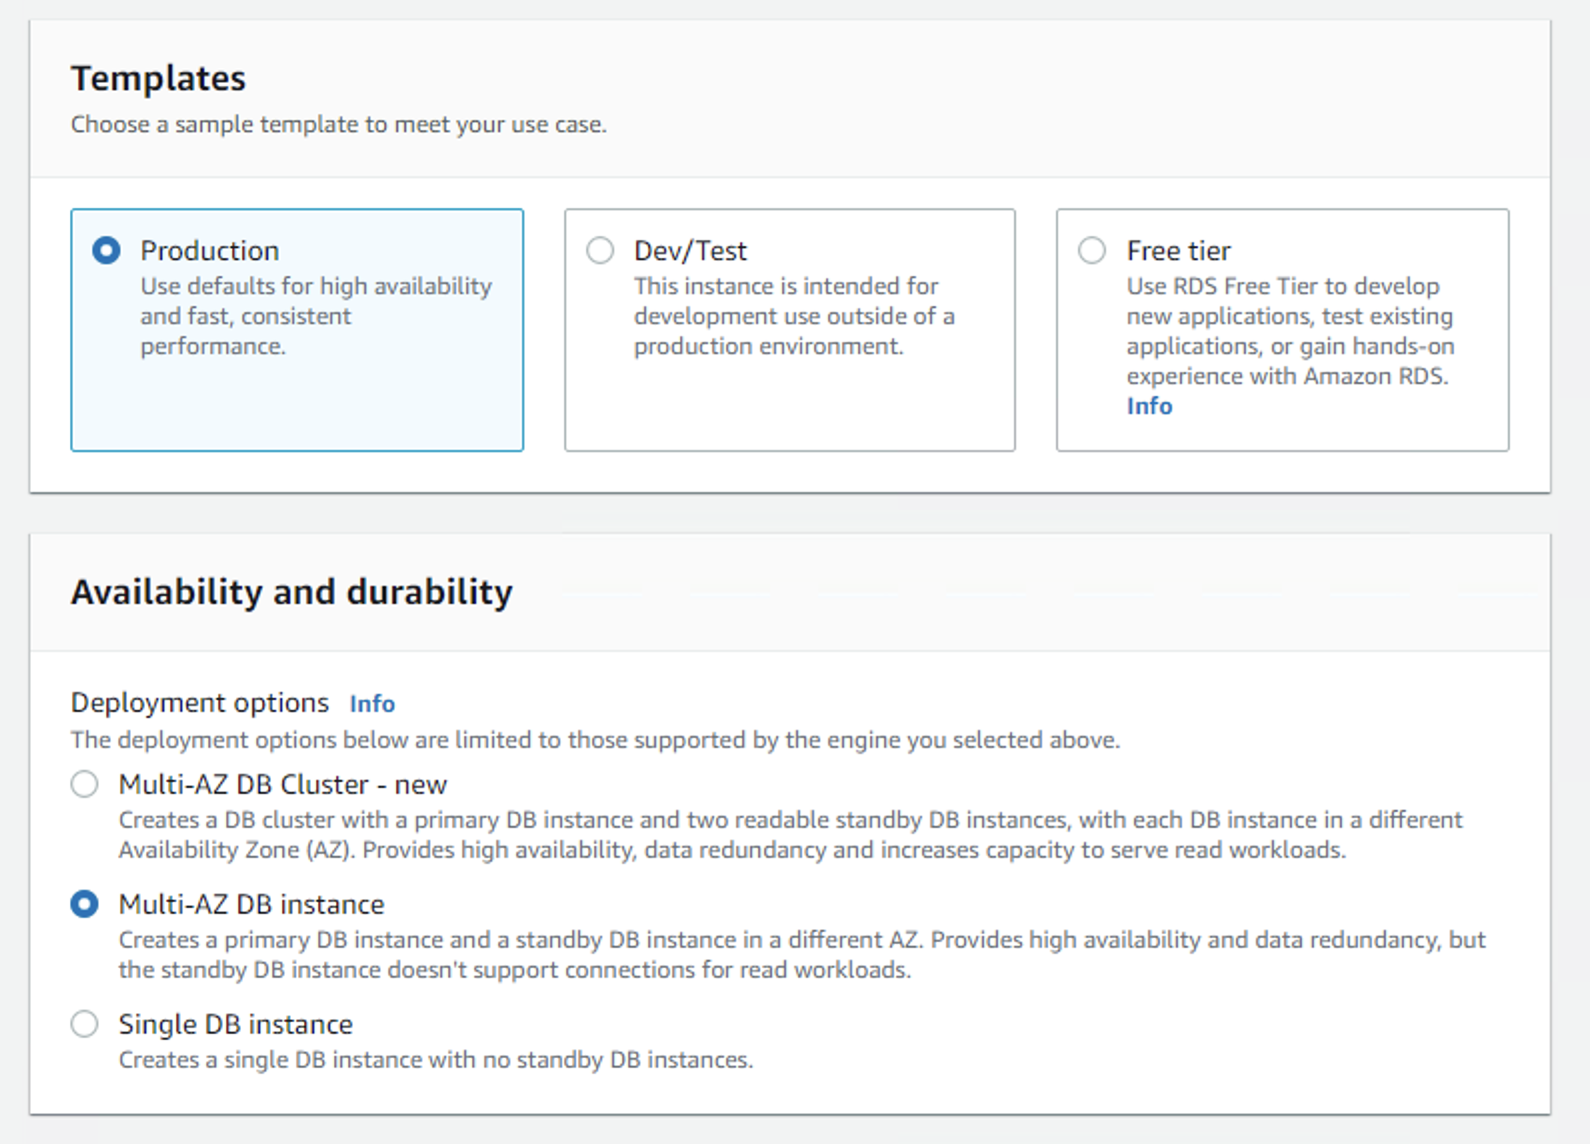
The first layer is the presentation layer. Users can directly access the public subnet via the gateway. The second layer is the logic layer, which primarily deals with business logic. This layer resides in a private subnet to limit access and sits behind a load balancer. The load balancer enables flexible and horizontal scaling to handle varying traffic demands at different times. The third layer is the data layer, which houses a MySQL database in a private subnet. Access is only permitted through the second layer. To enhance availability, I've deployed the architecture across two Availability Zones, and the database is backed up to the other zone. This ensures that if one Availability Zone fails, the application services will remain operational.
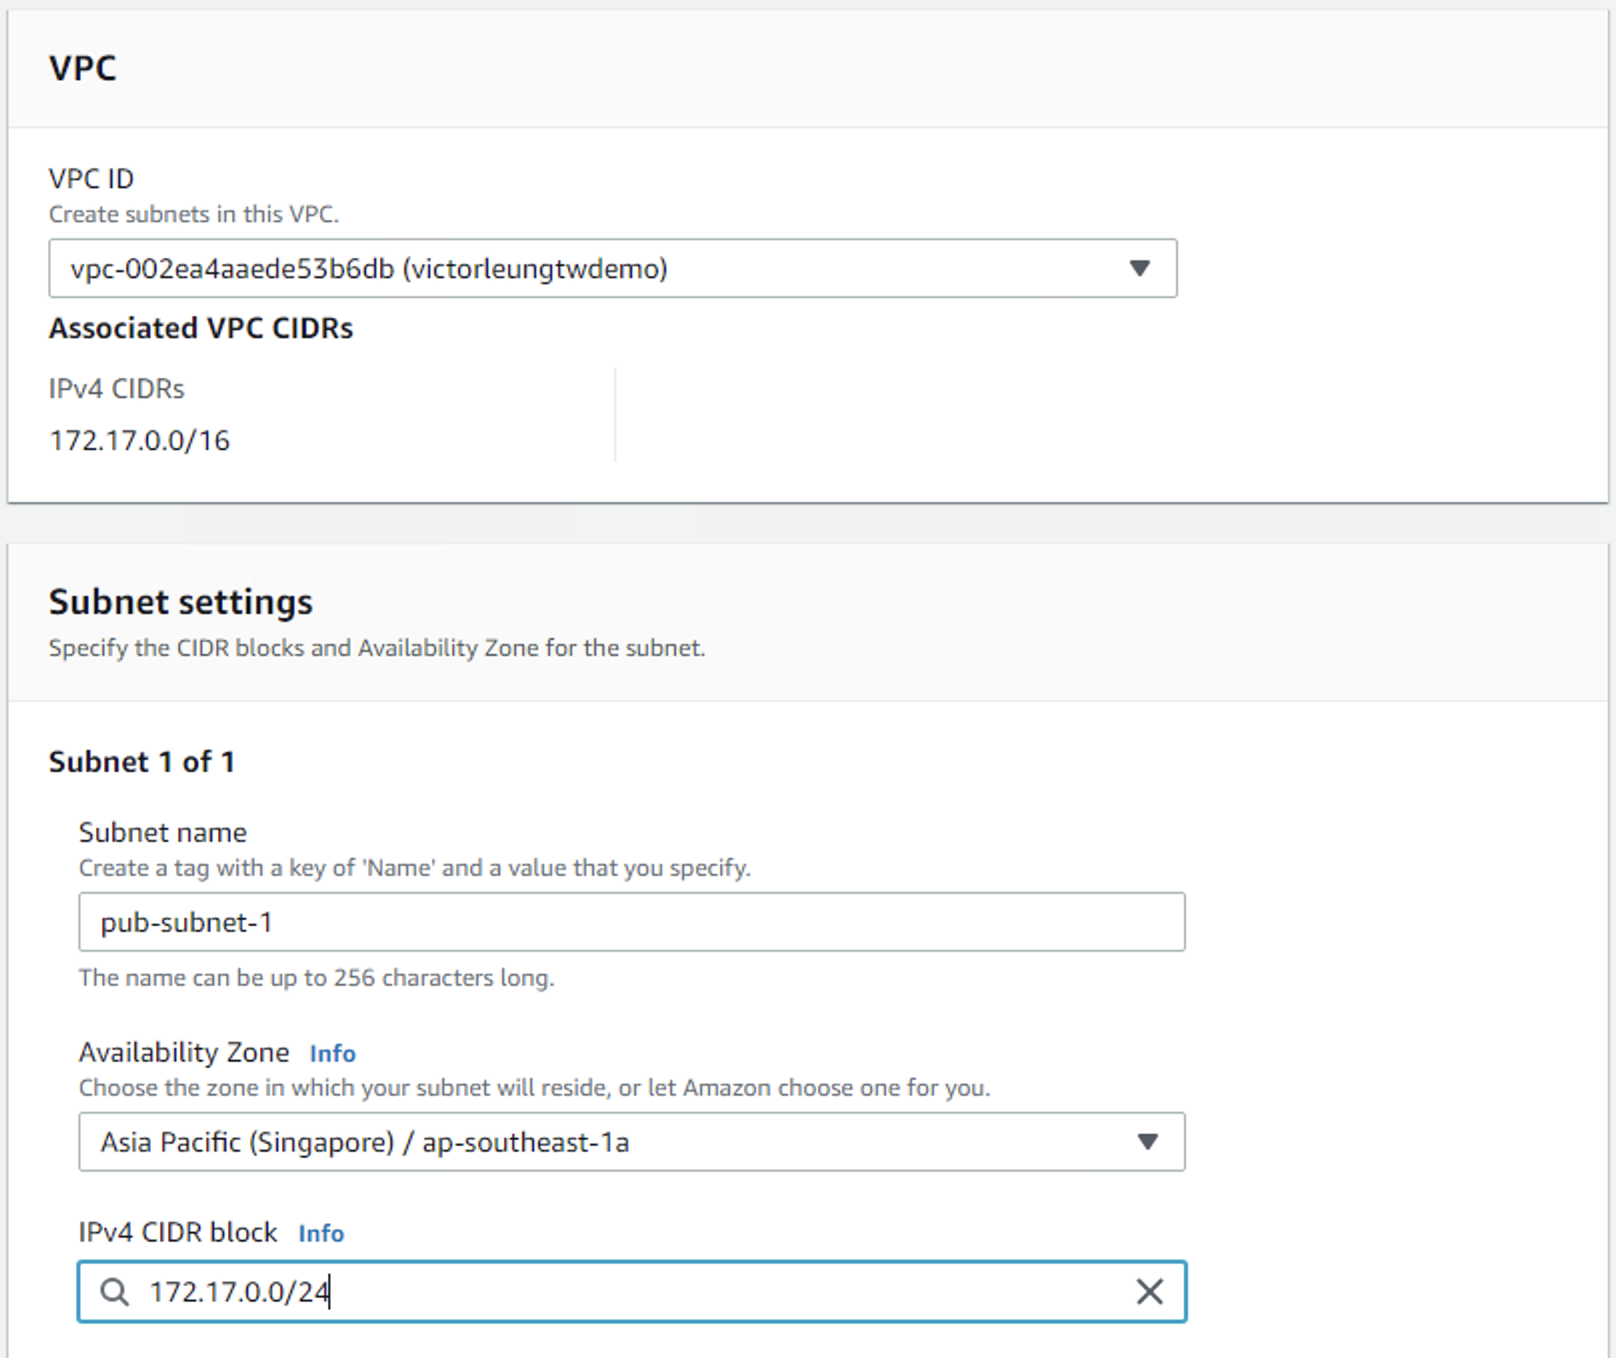
First, I'll create a VPC network named victorleungtwdemo. As per the architecture diagram, I'll choose the 172.17.0.0/16 CIDR block. This /16 subnet will give me 65,535 IP addresses, which provides room for future expansion.
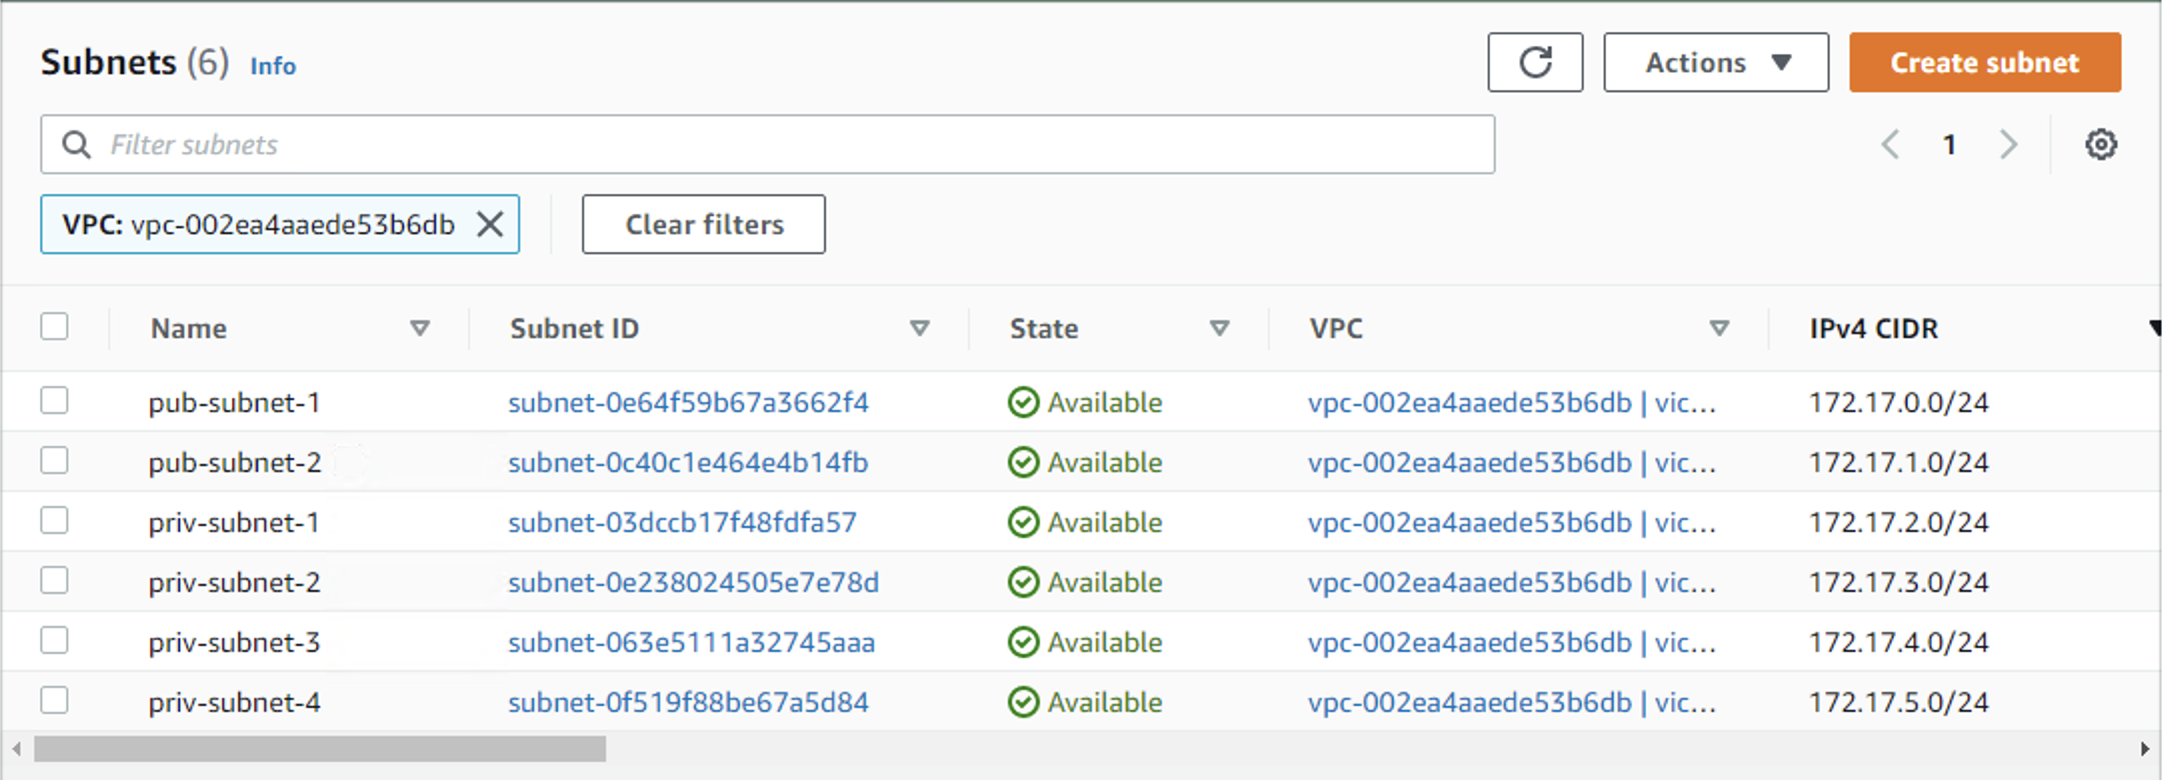
Next, I'll create six subnets. The first subnet is named pub-subnet-1. I'll associate it with the VPC I just created and choose the appropriate Availability Zone (Zone A). I'll also specify the IP address range for this subnet. To ensure scalability, I'll set it as a /24 subnet.
Continuing this process, I'll create the remaining five subnets. As shown in the diagram below, I now have six subnets in different Availability Zones.
Next, I'll create a new Internet Gateway, named victorleungtw-igw.
After it's created, I'll attach it to my victorleungtwdemo VPC.
Now, let's examine the routing table. A default routing table is automatically generated when the VPC is created. All the subnets I create will connect to this table by default.
I'll then create a new routing table named pub-route, which will manage data routed to the public network. Additionally, I'll rename the original routing table to priv-route. For the database subnet, I'll create another routing table named nat-route.
At this point, I have three routing tables. Each one comes with a default route.
For the pub-route table, I'll add a route 0.0.0.0/0 directed towards victorleungtw-igw. This allows all machines in the associated subnets to access the public internet.
Next, I'll associate my public subnets, pub-subnet-1 and pub-subnet-2, with the pub-route table.
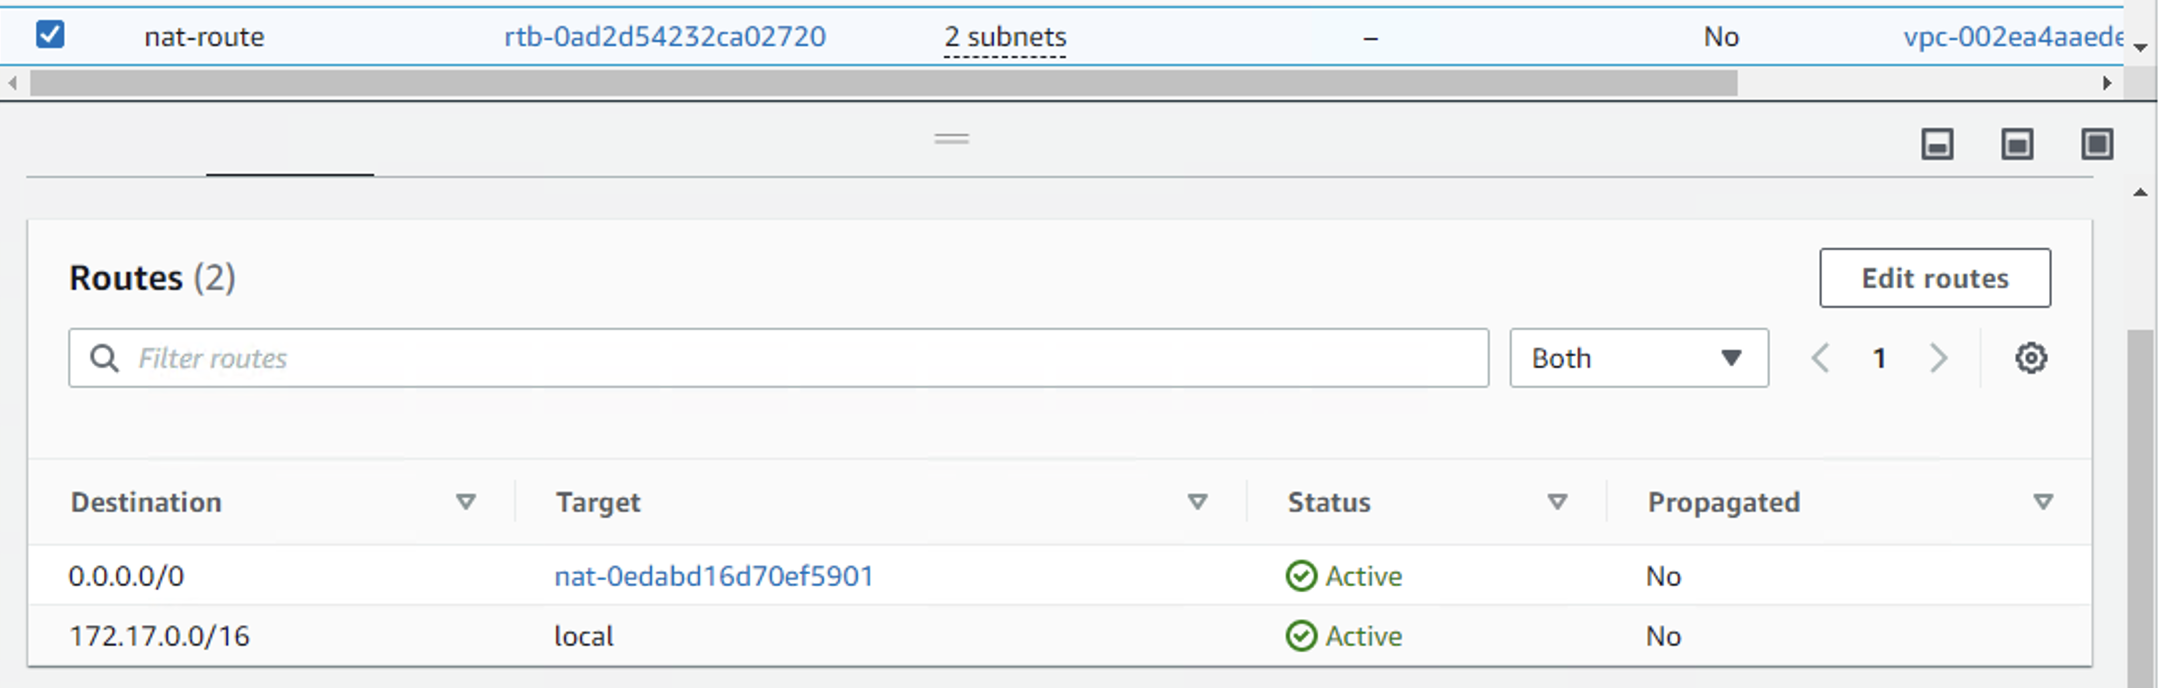
Then, I'll add the nat-route and associate it with priv-subnet-1 and priv-subnet-2.
Finally, there's no need to worry about the remaining private routing table; all subnets will default to priv-route.
Now, let's move on to creating a Network Address Translation (NAT) gateway. I'll choose priv-subnet-2 as its subnet and create an Elastic IP (EIP) for it.
I'll add the NAT gateway to the NAT routing table and set the route to 0.0.0.0/0.
So far, I've completed about 70% of the network architecture. Next, I'll configure all the related security group settings.
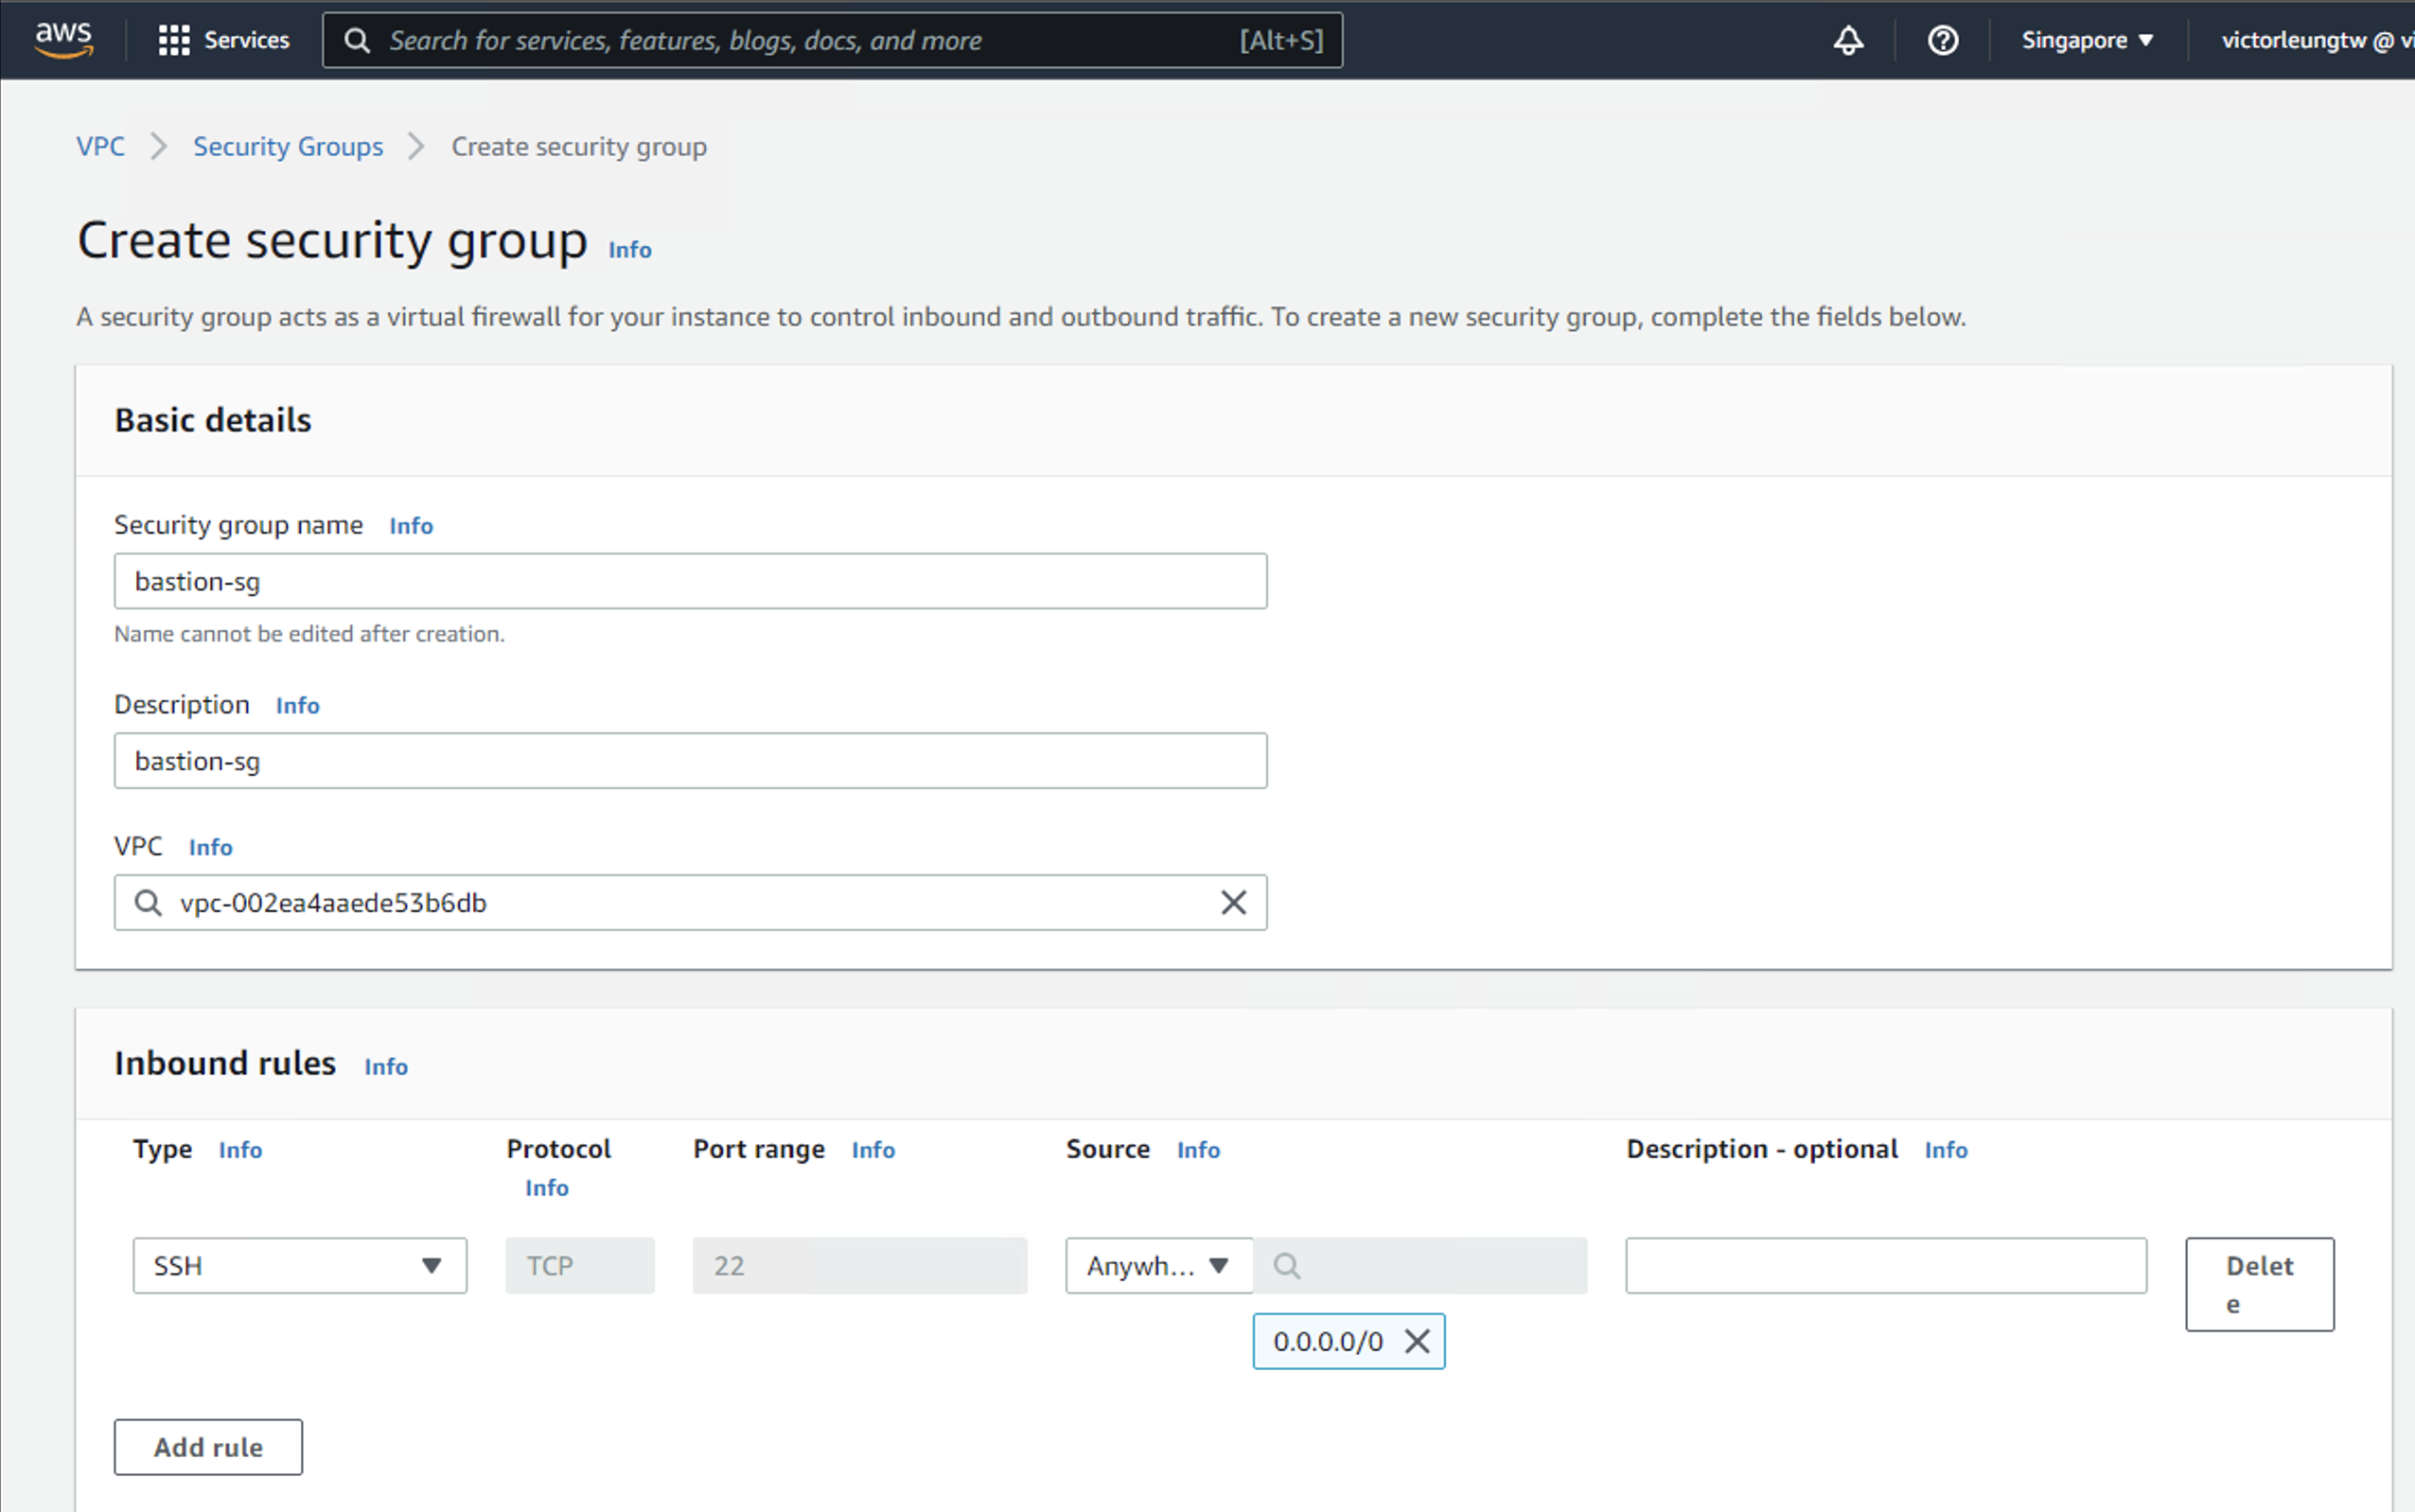
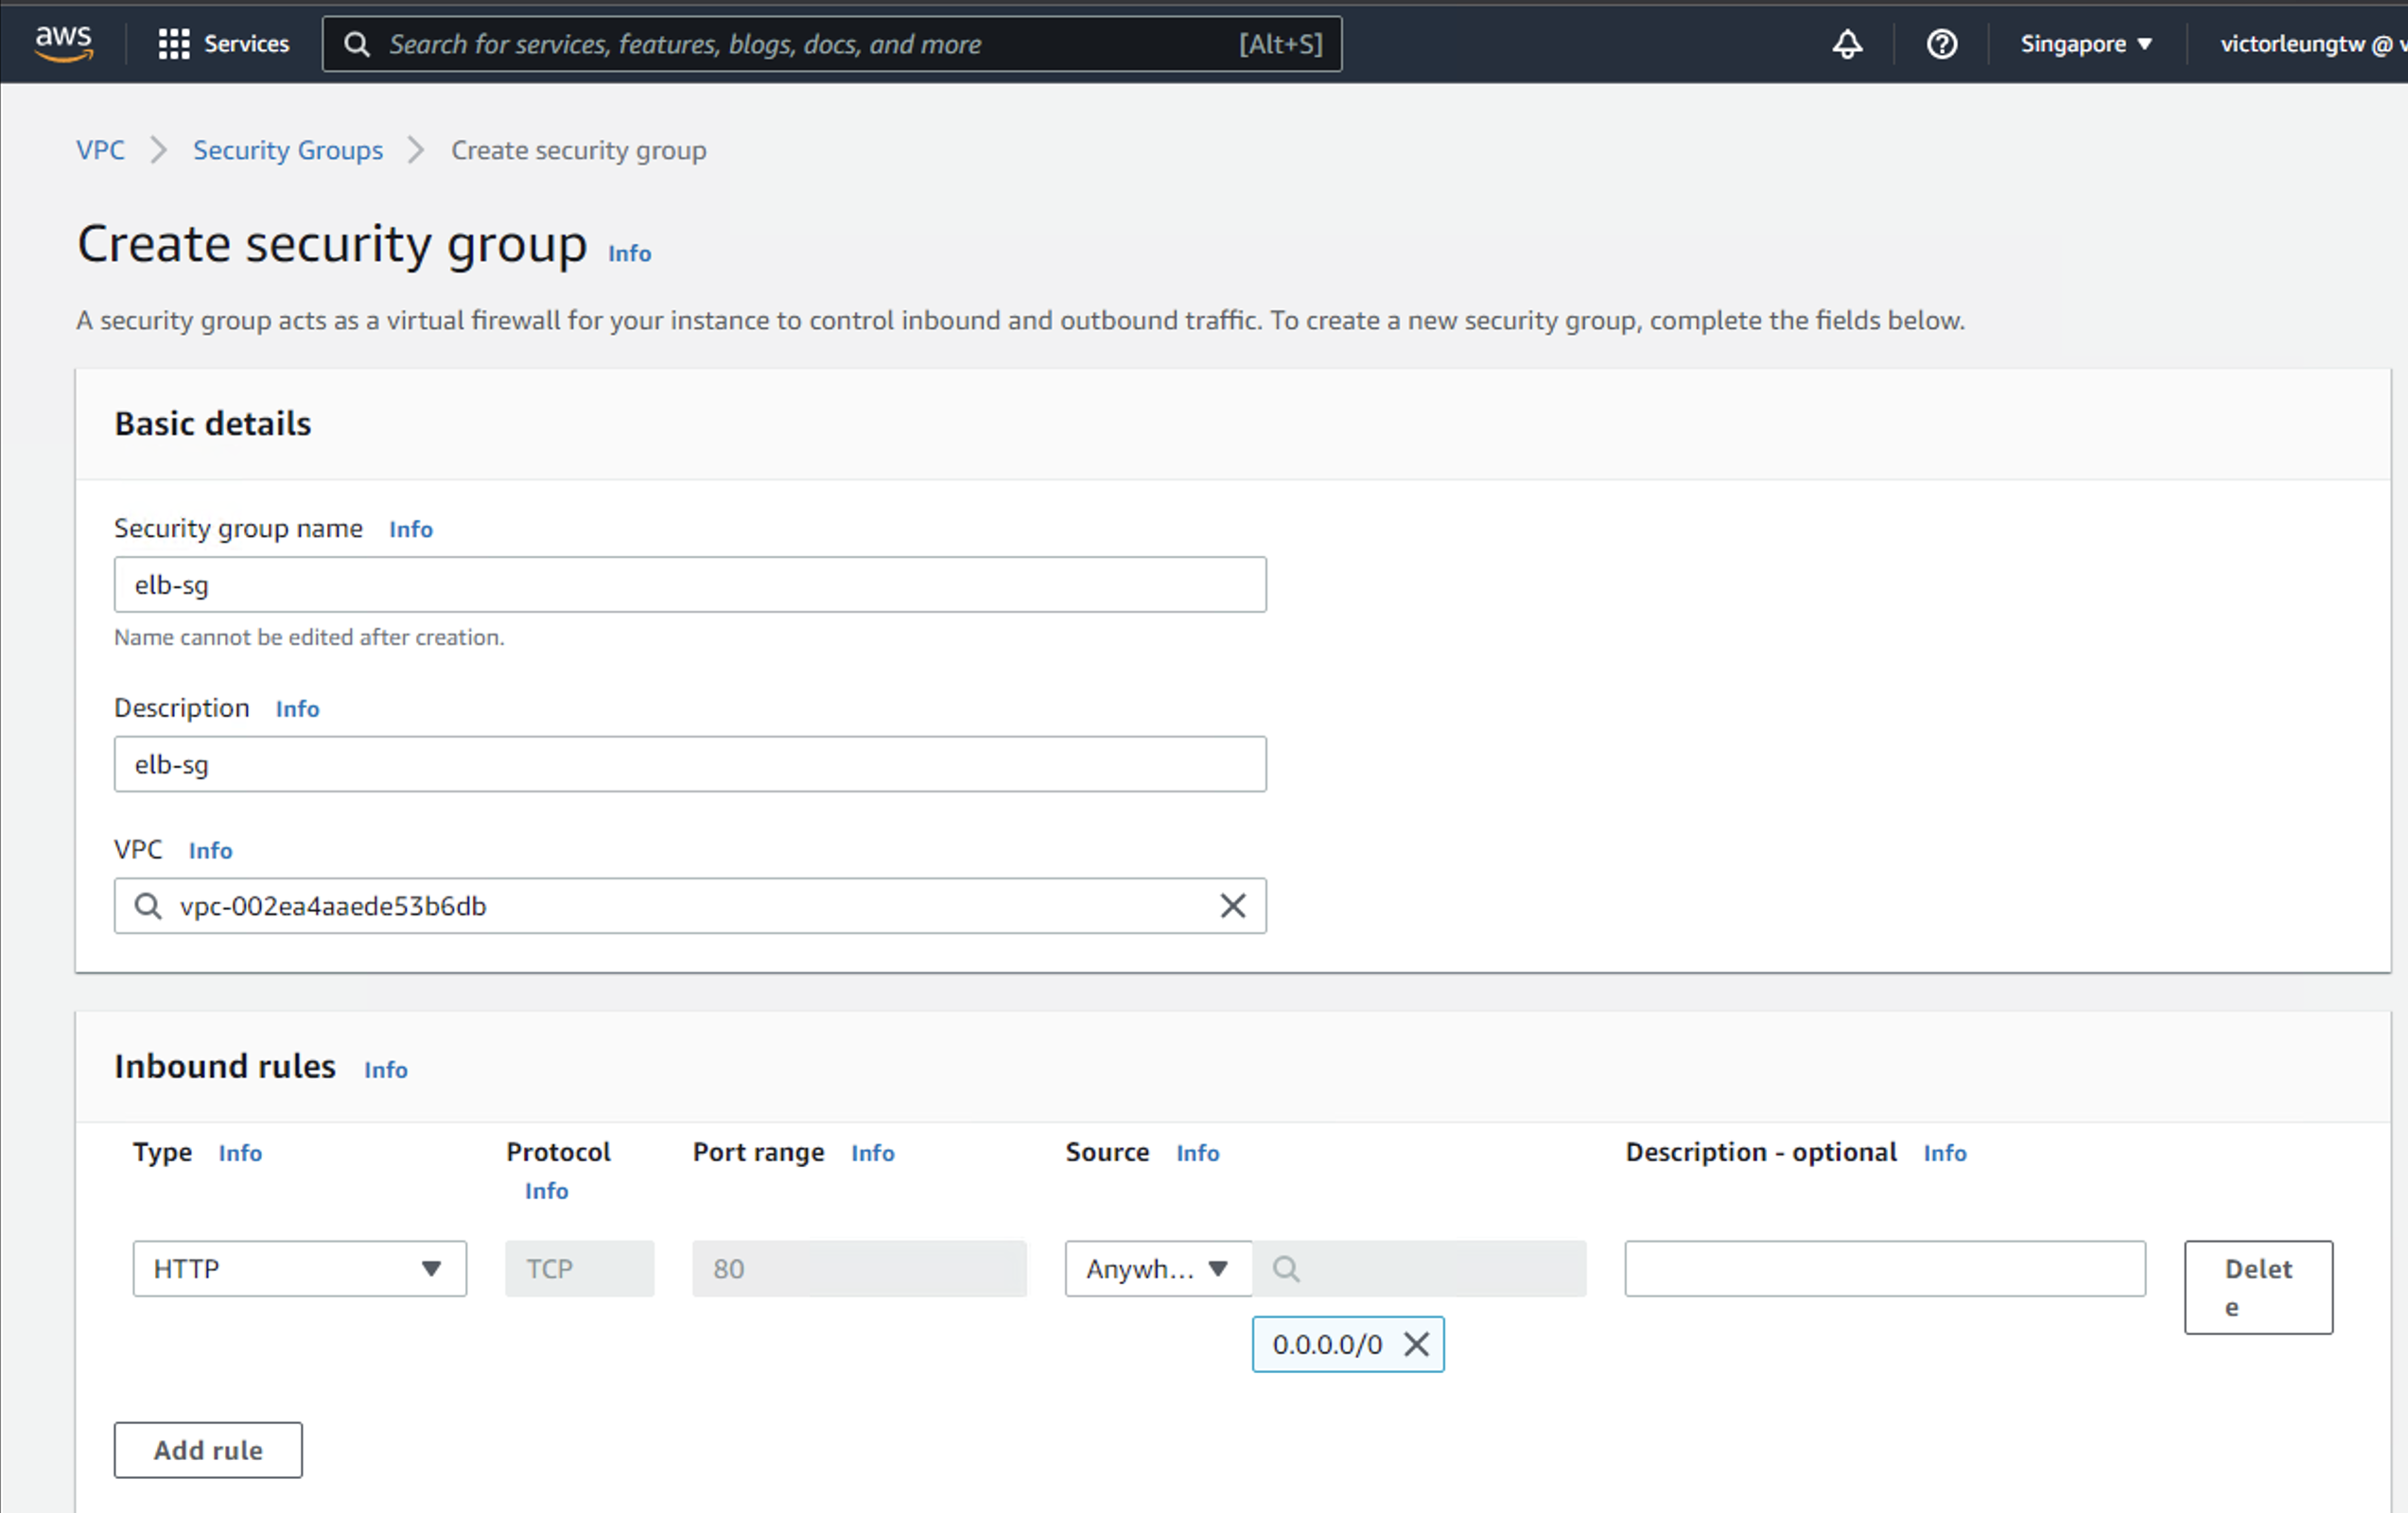
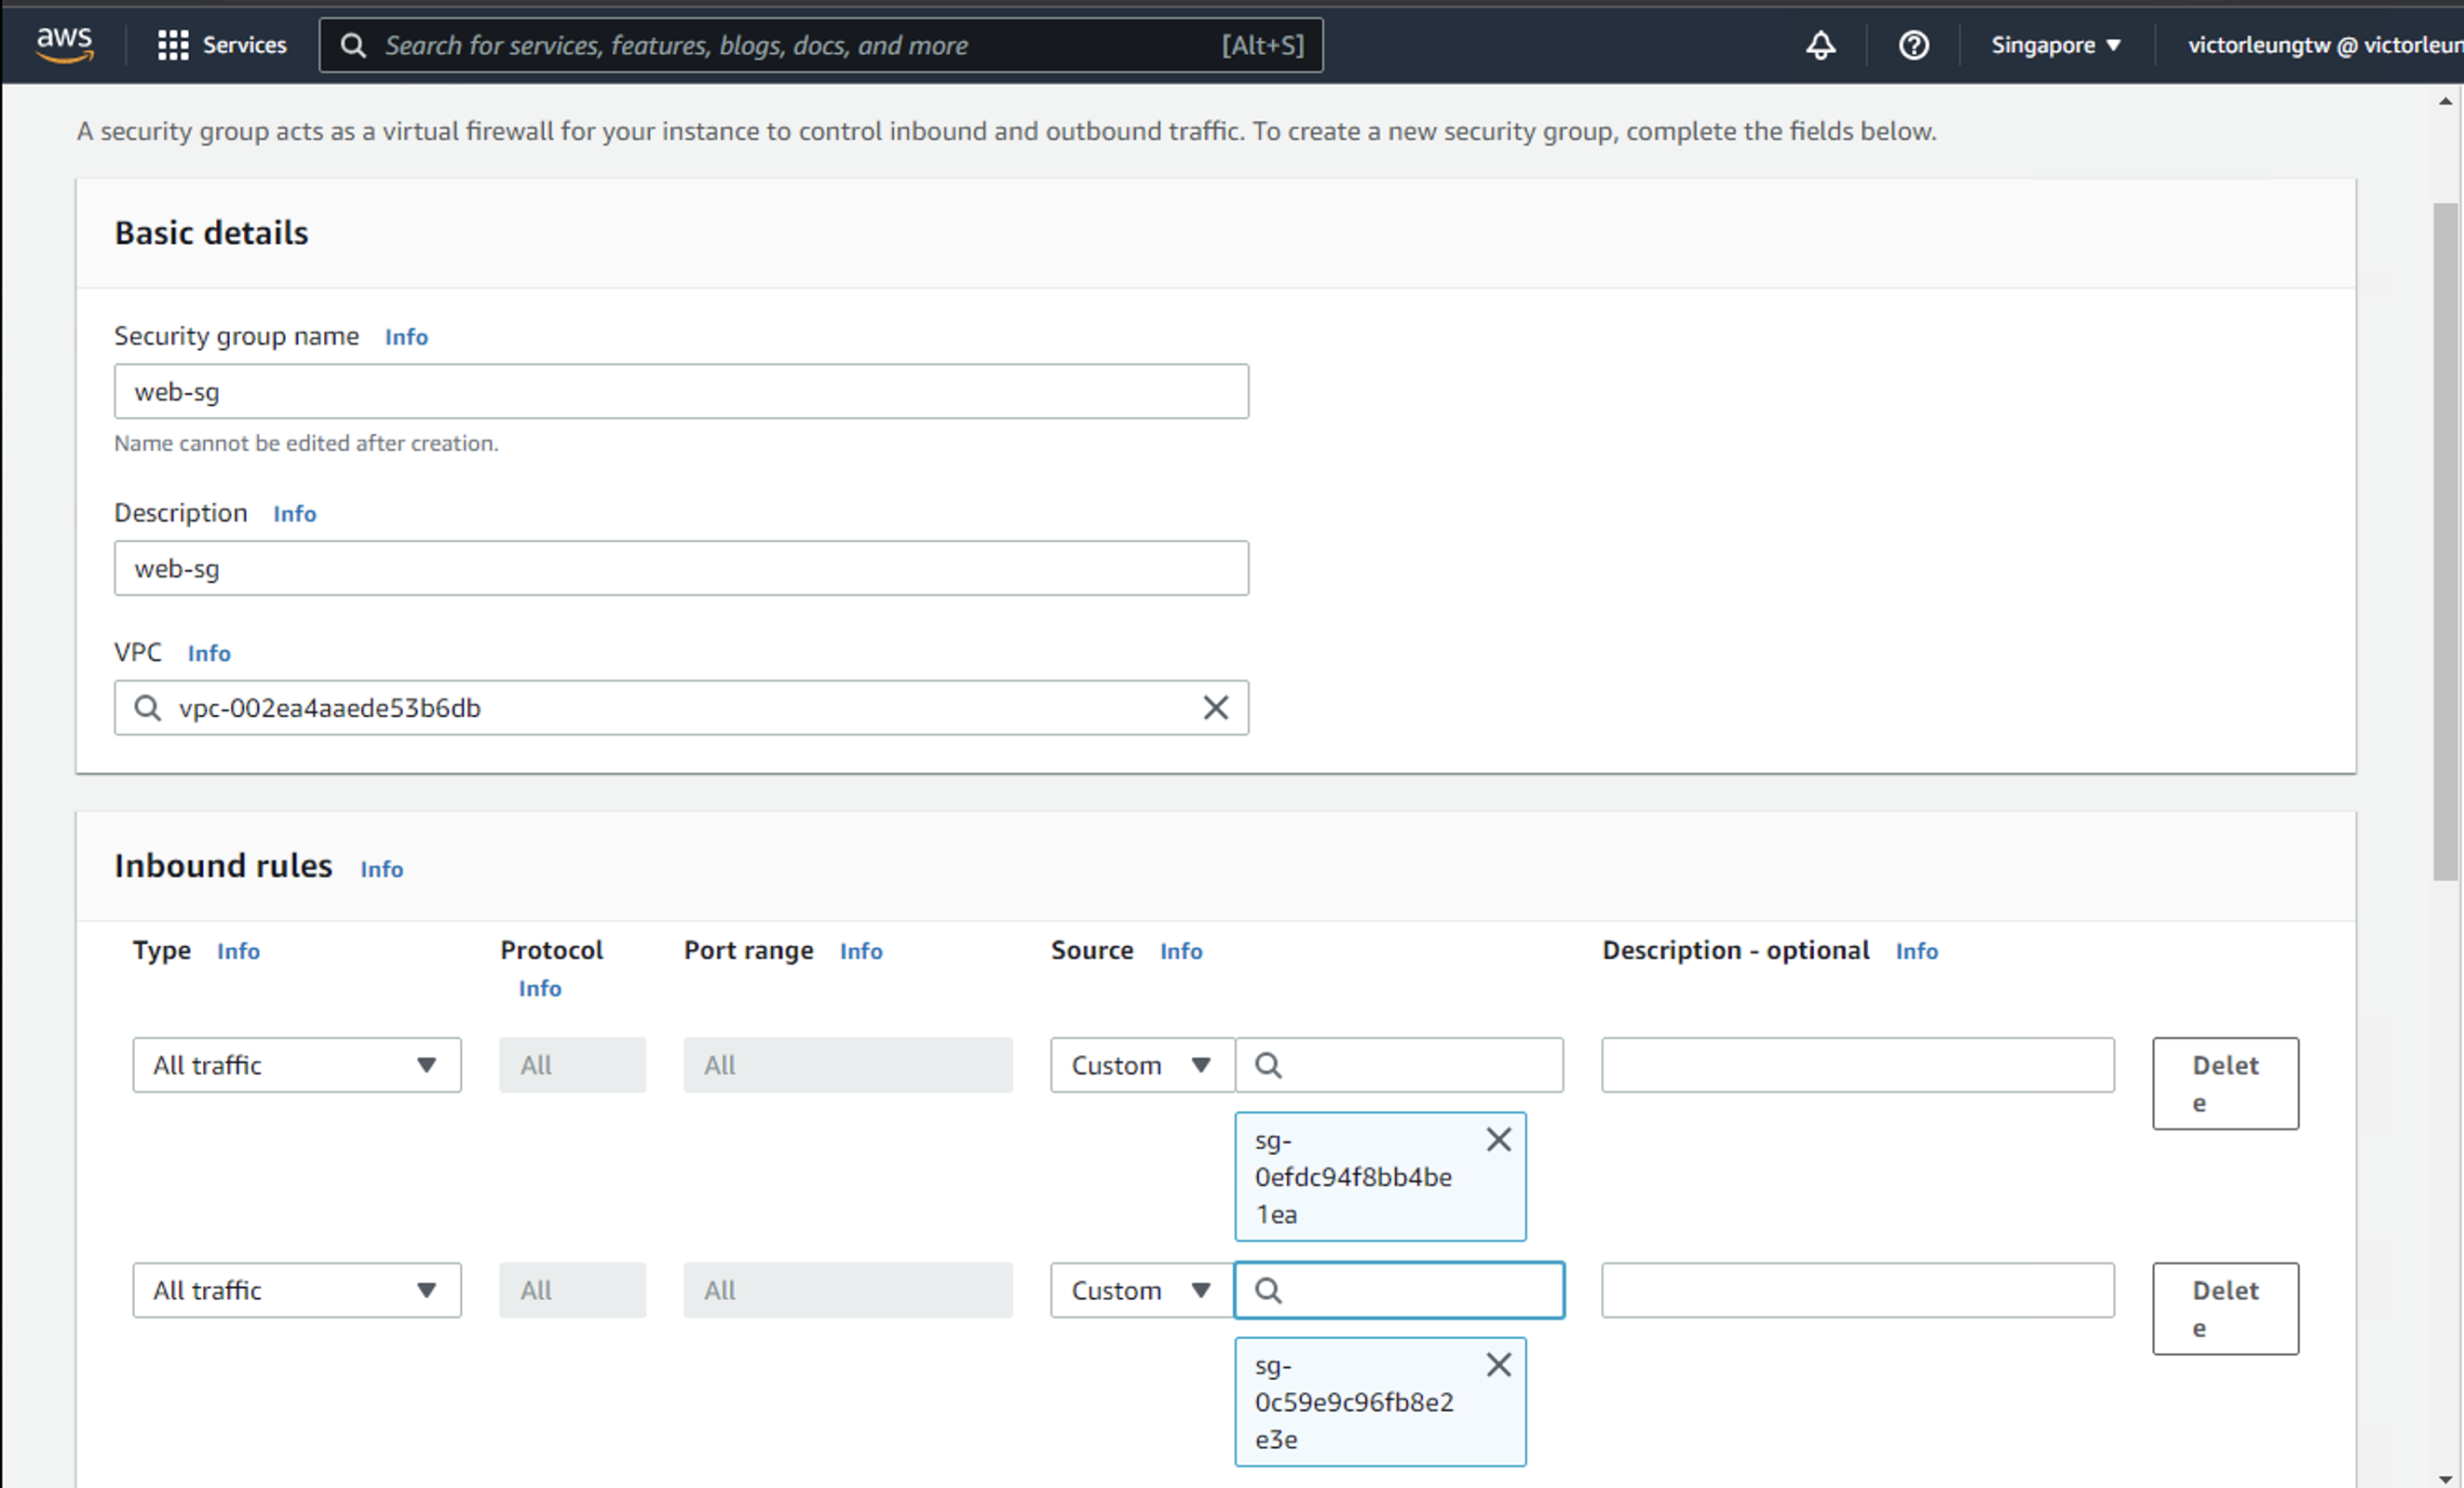
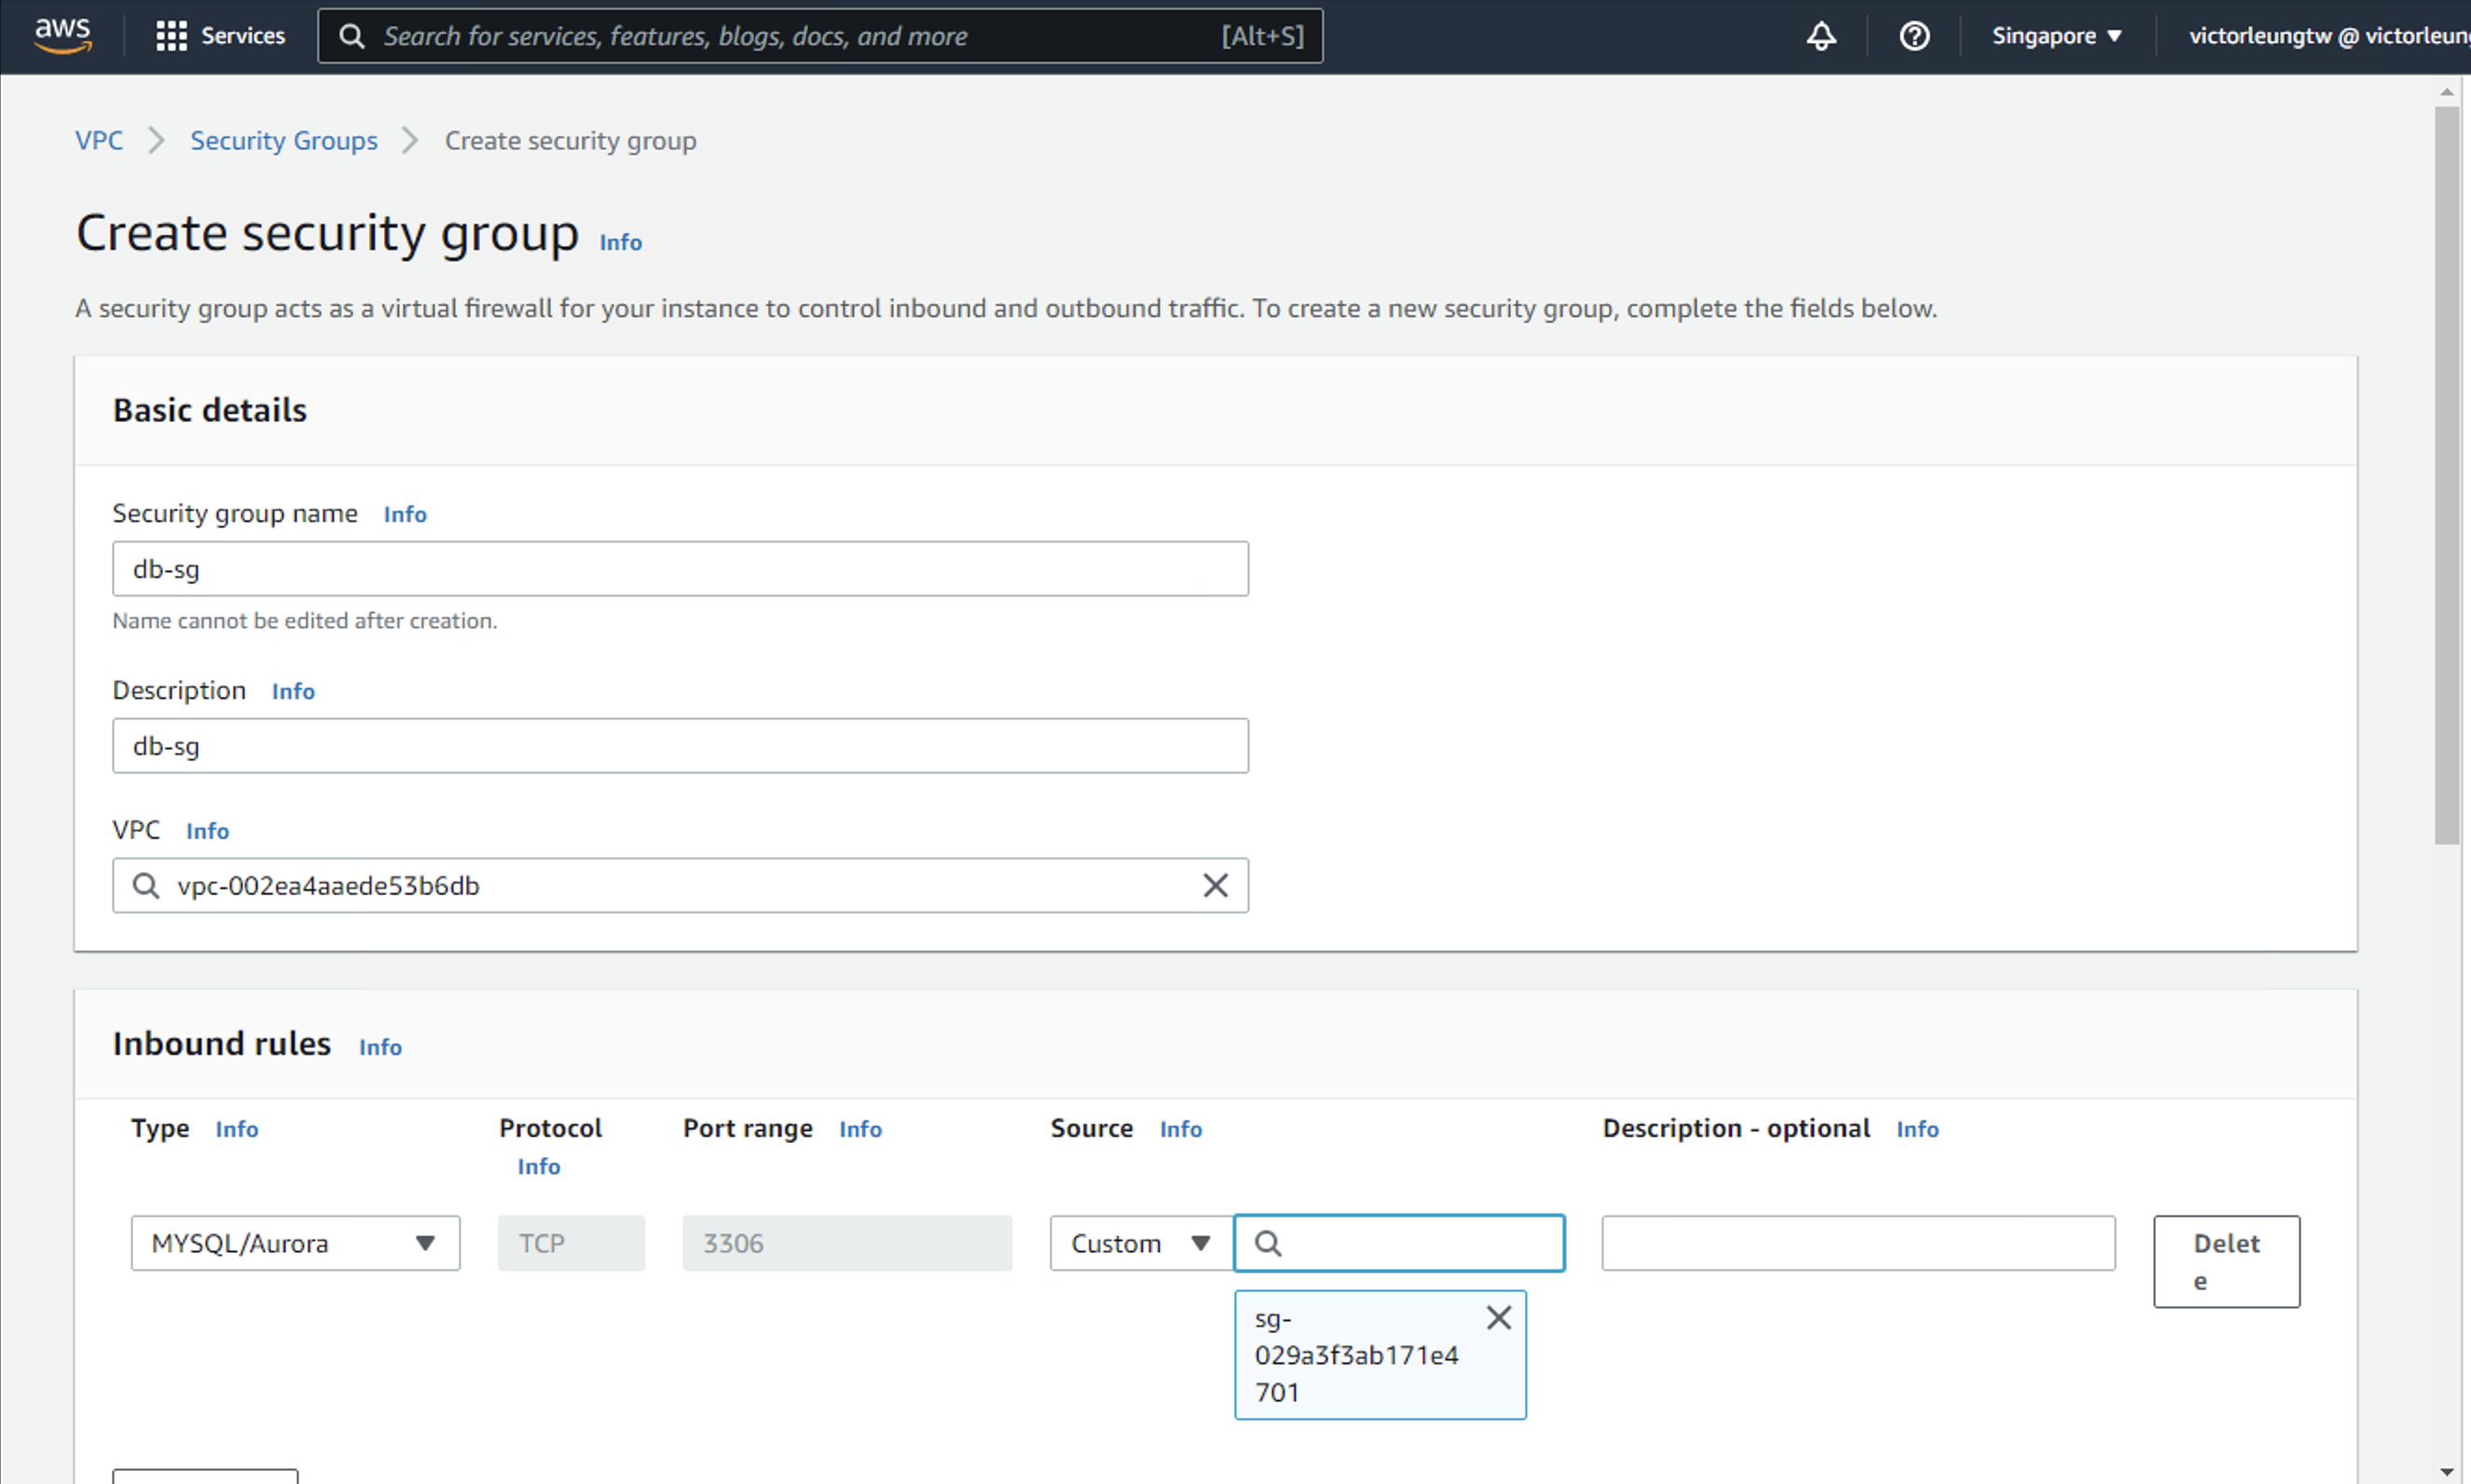
For security, I'll create separate security groups for my bastion host, load balancer, web servers, and database.
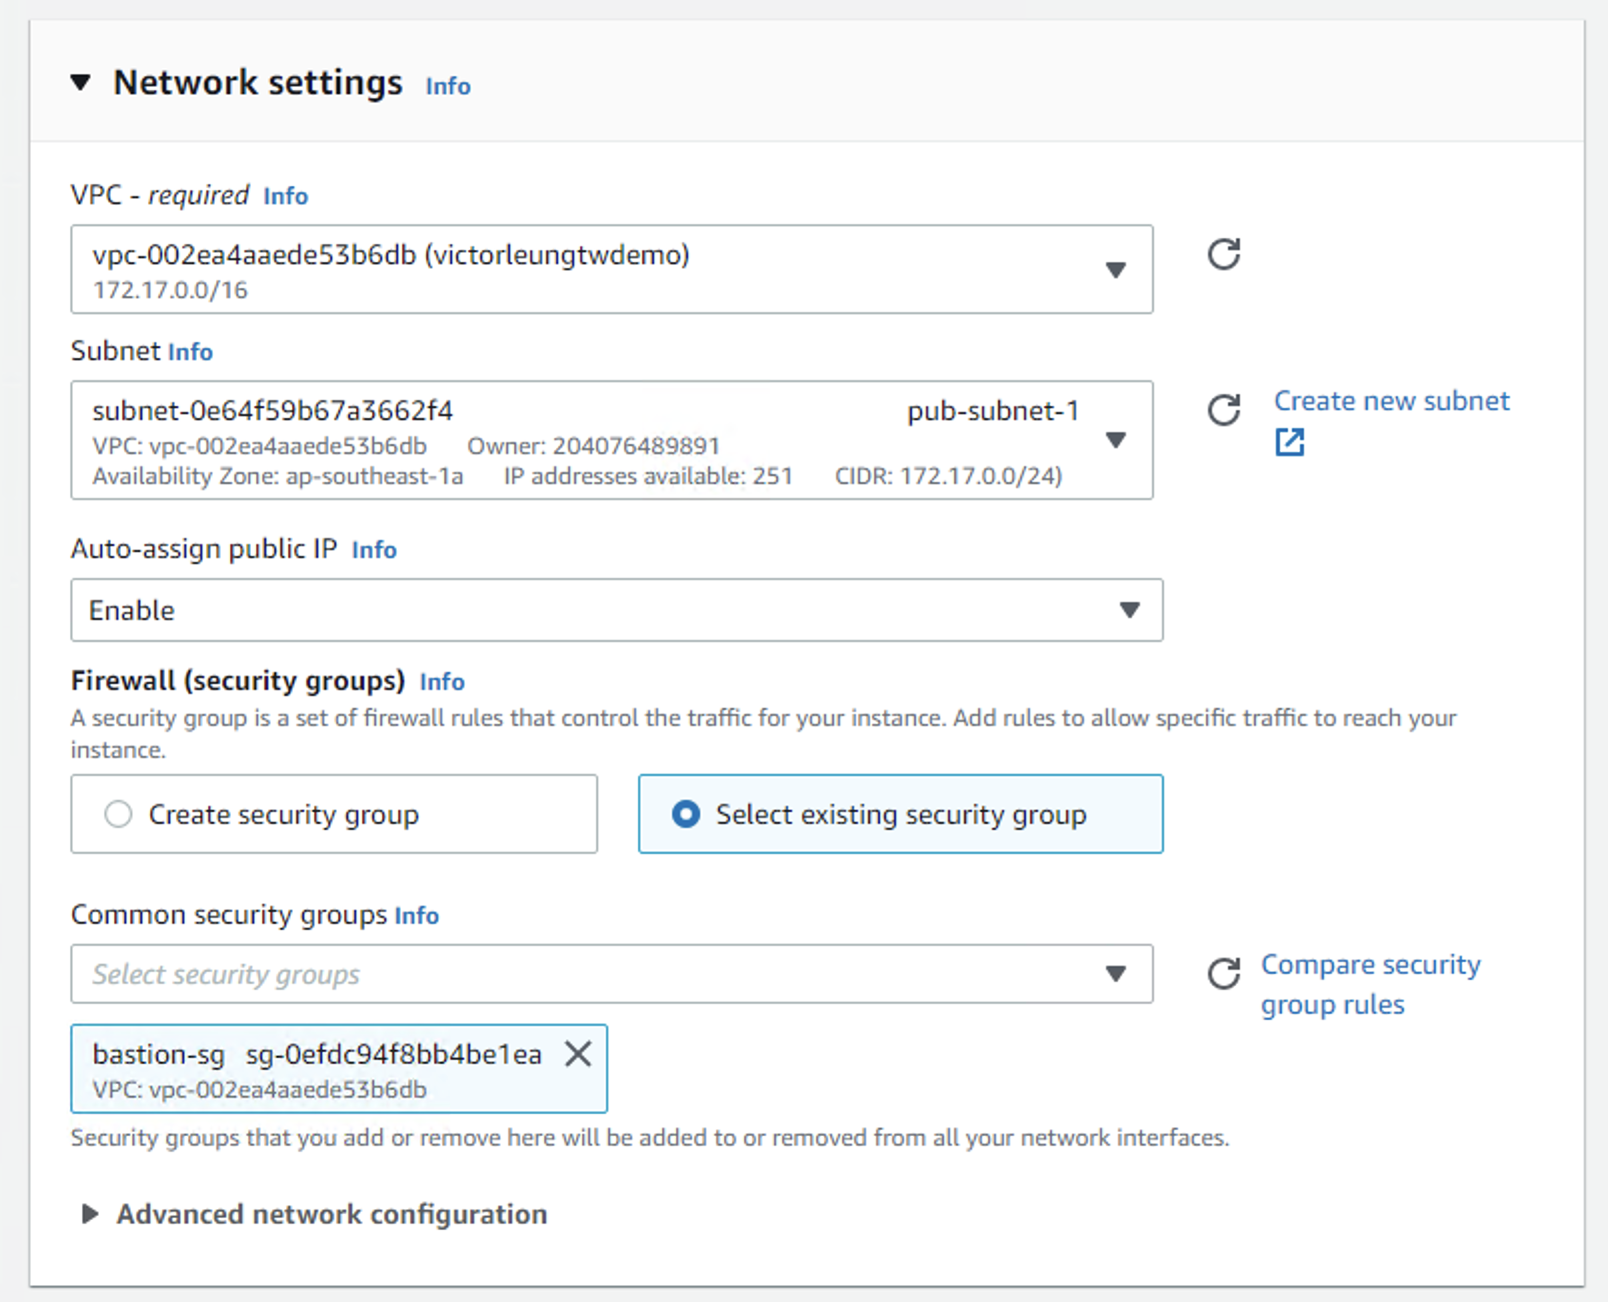
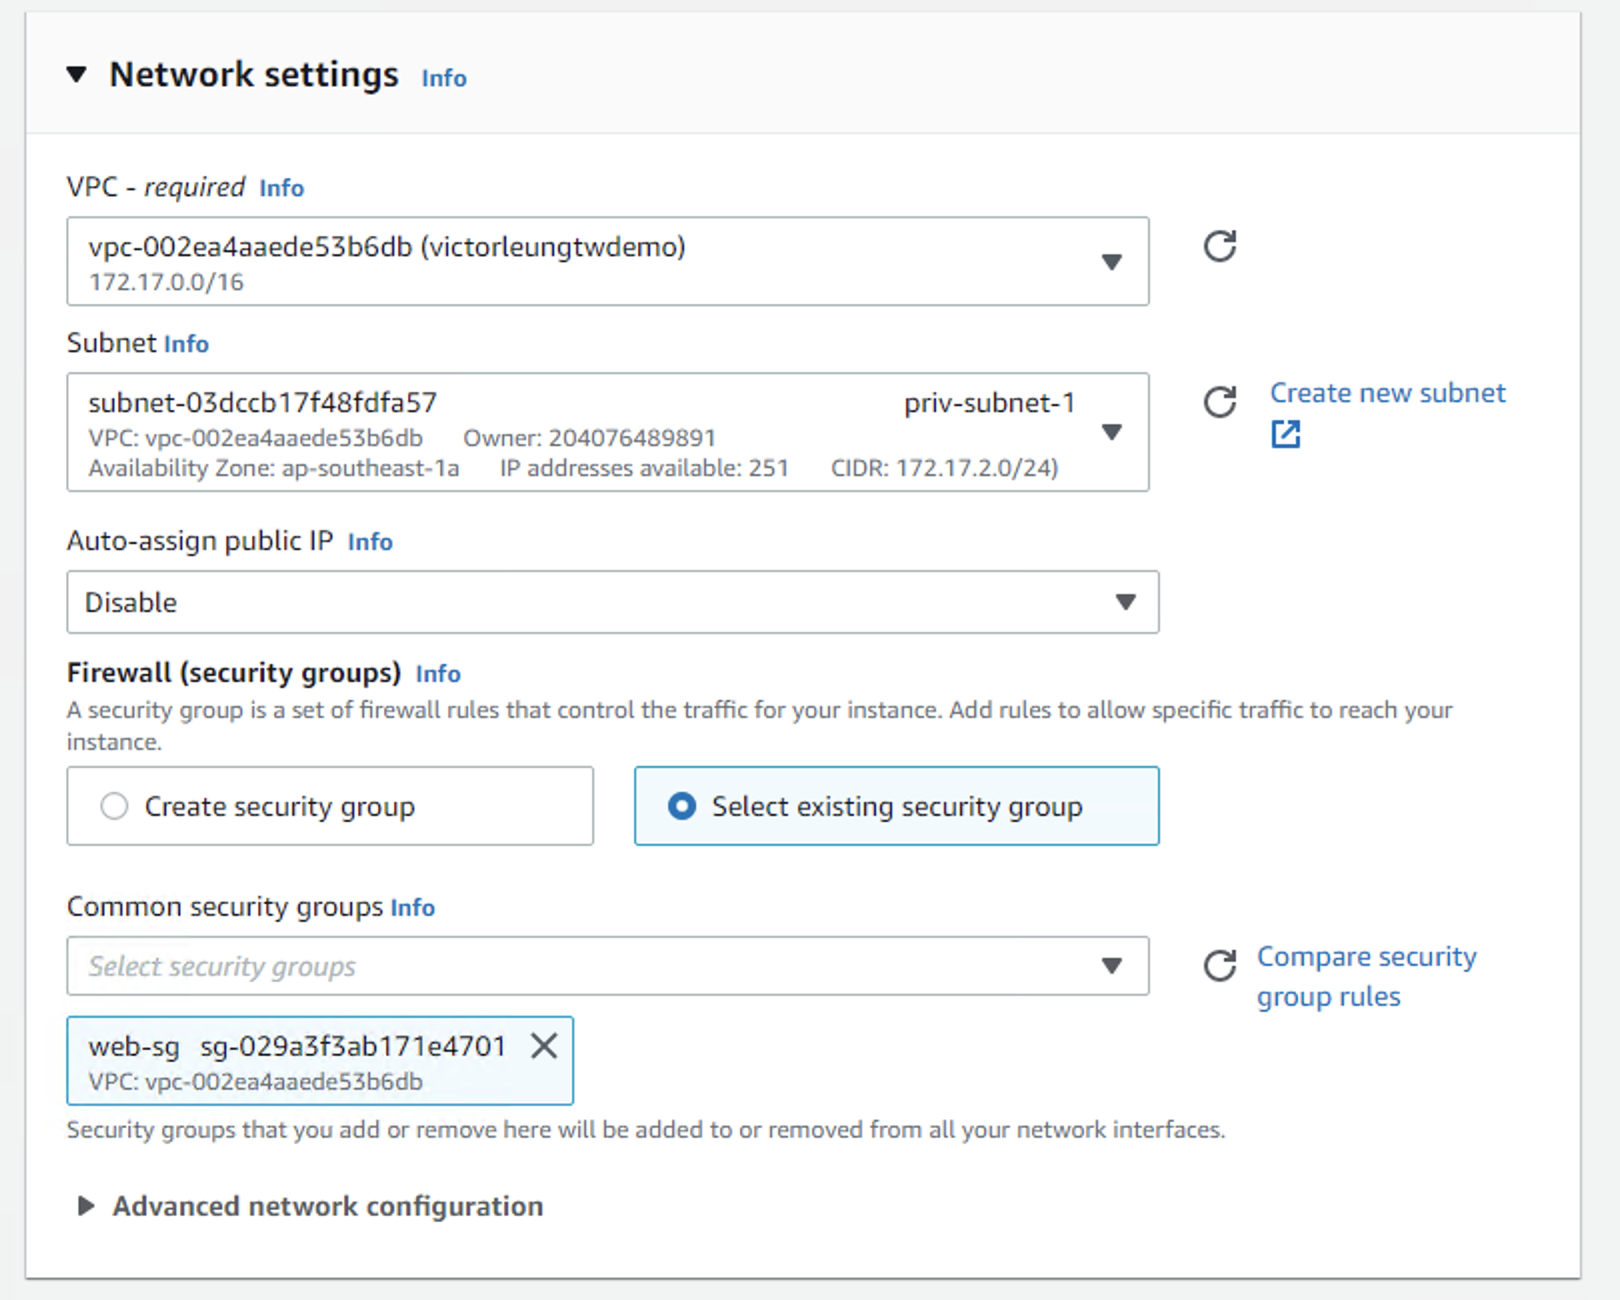
Now, it's time to launch the relevant EC2 instances.
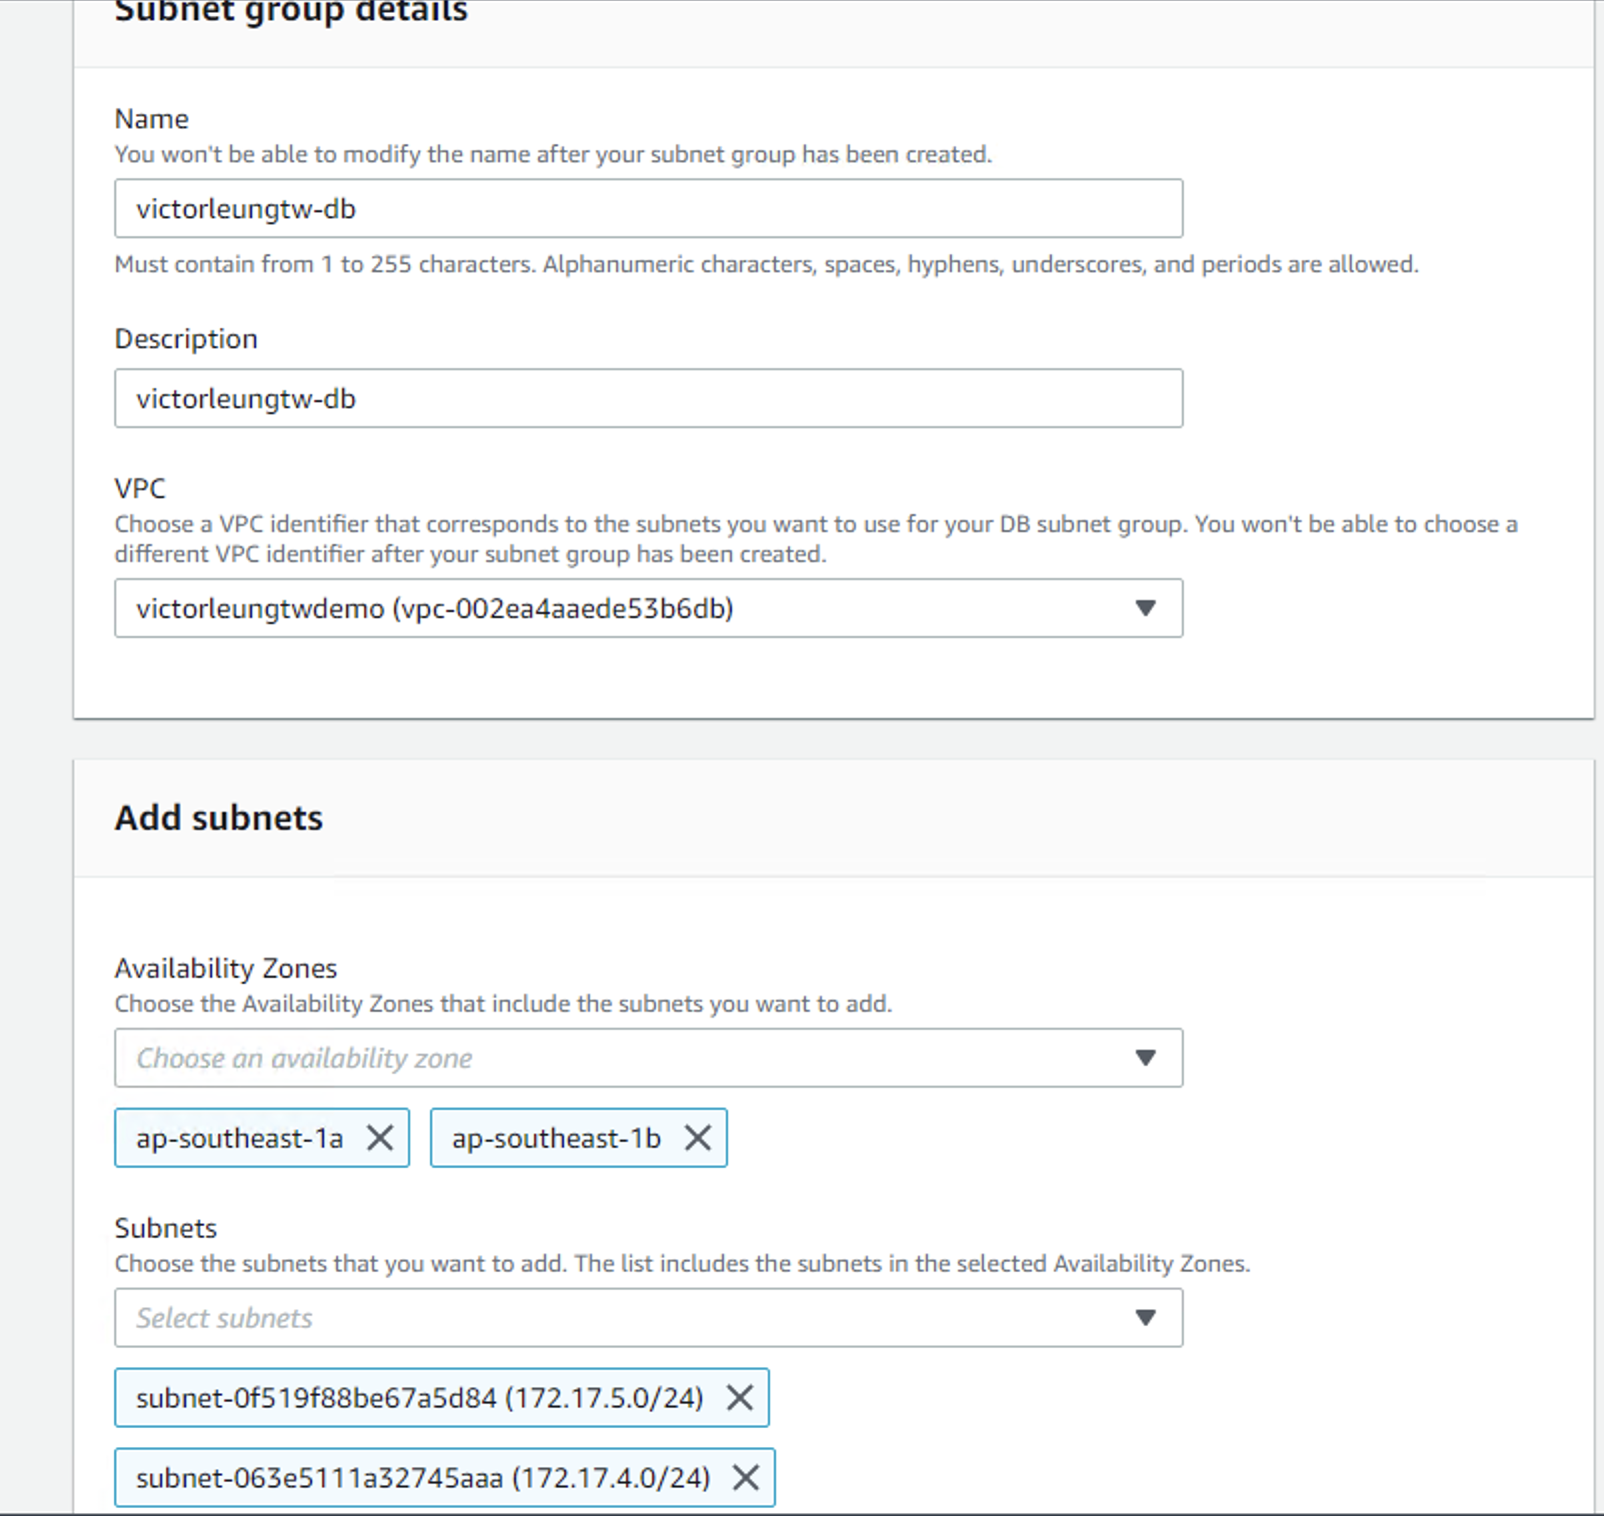
Before creating the RDS server, I'll also create an RDS subnet group.
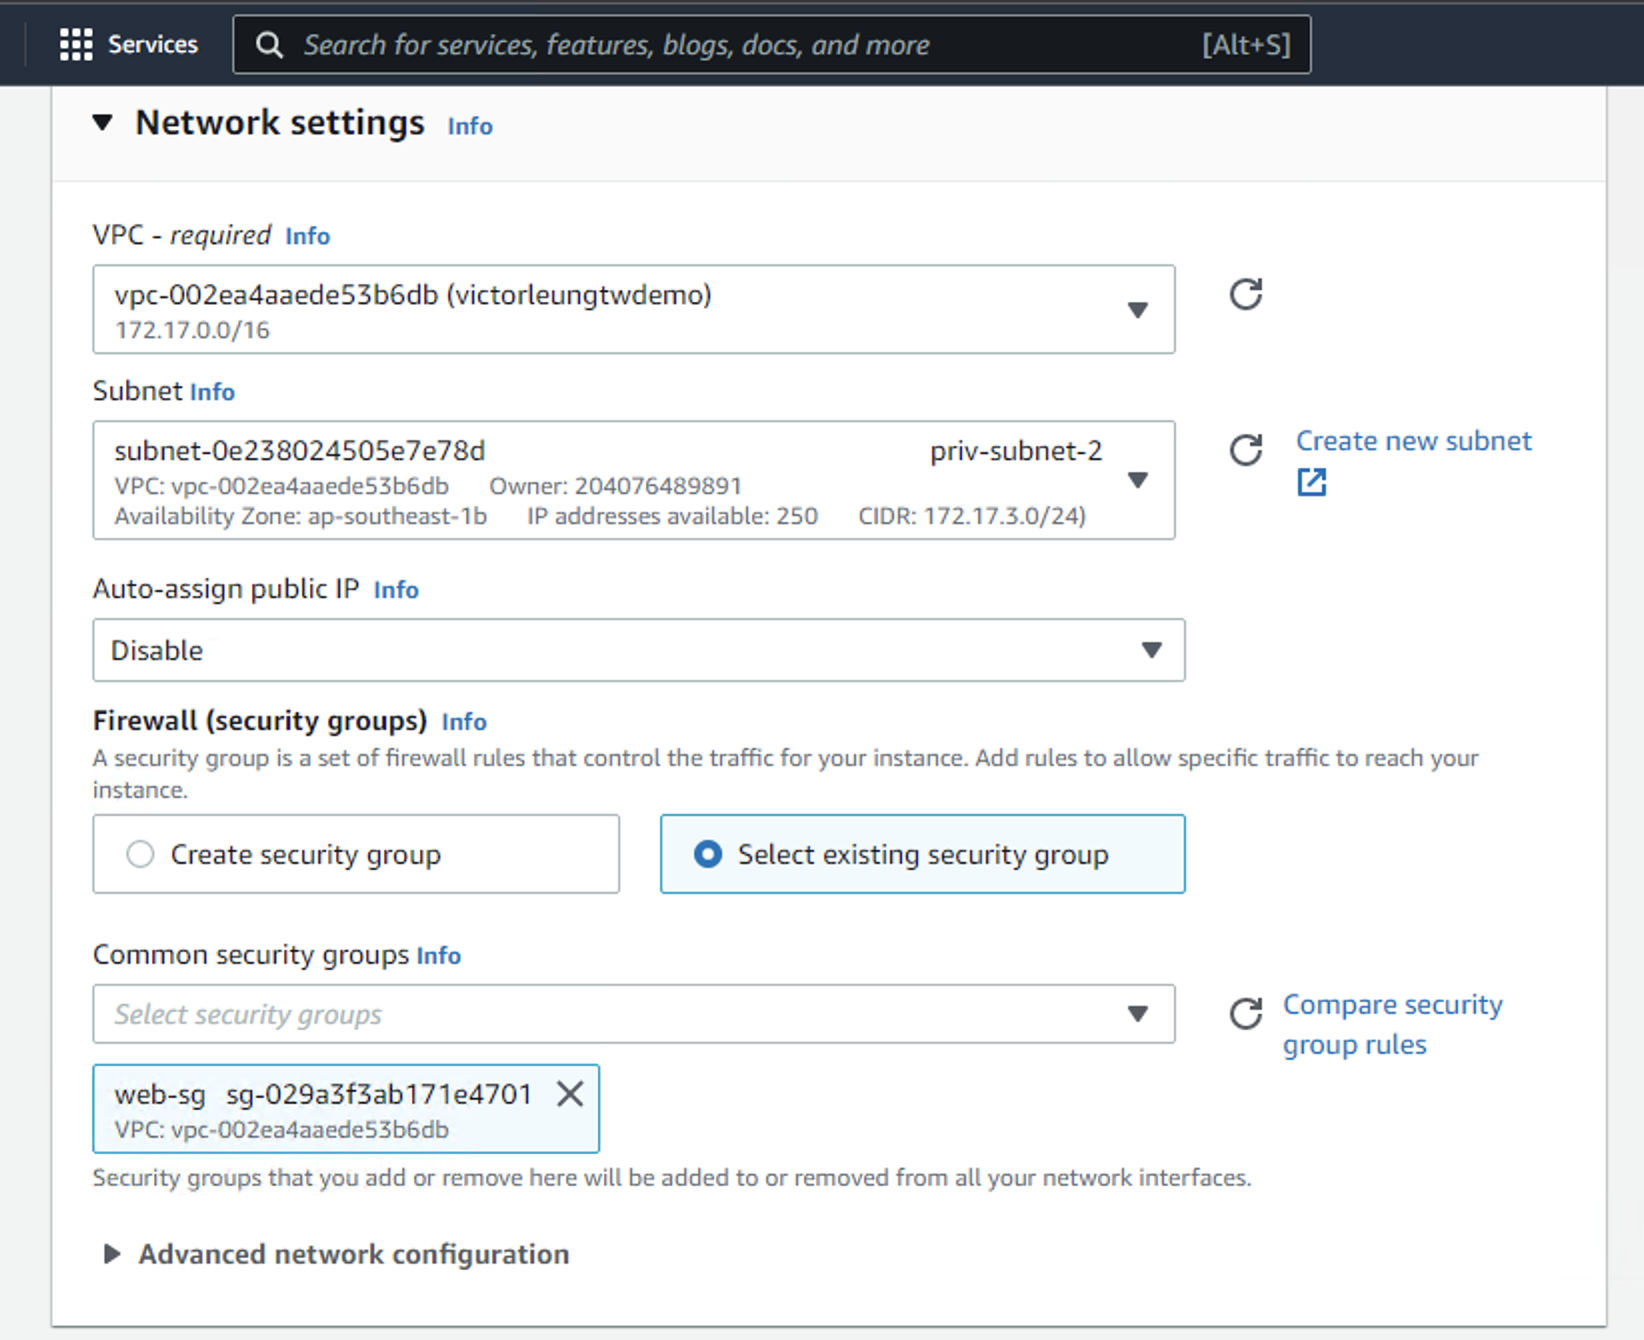
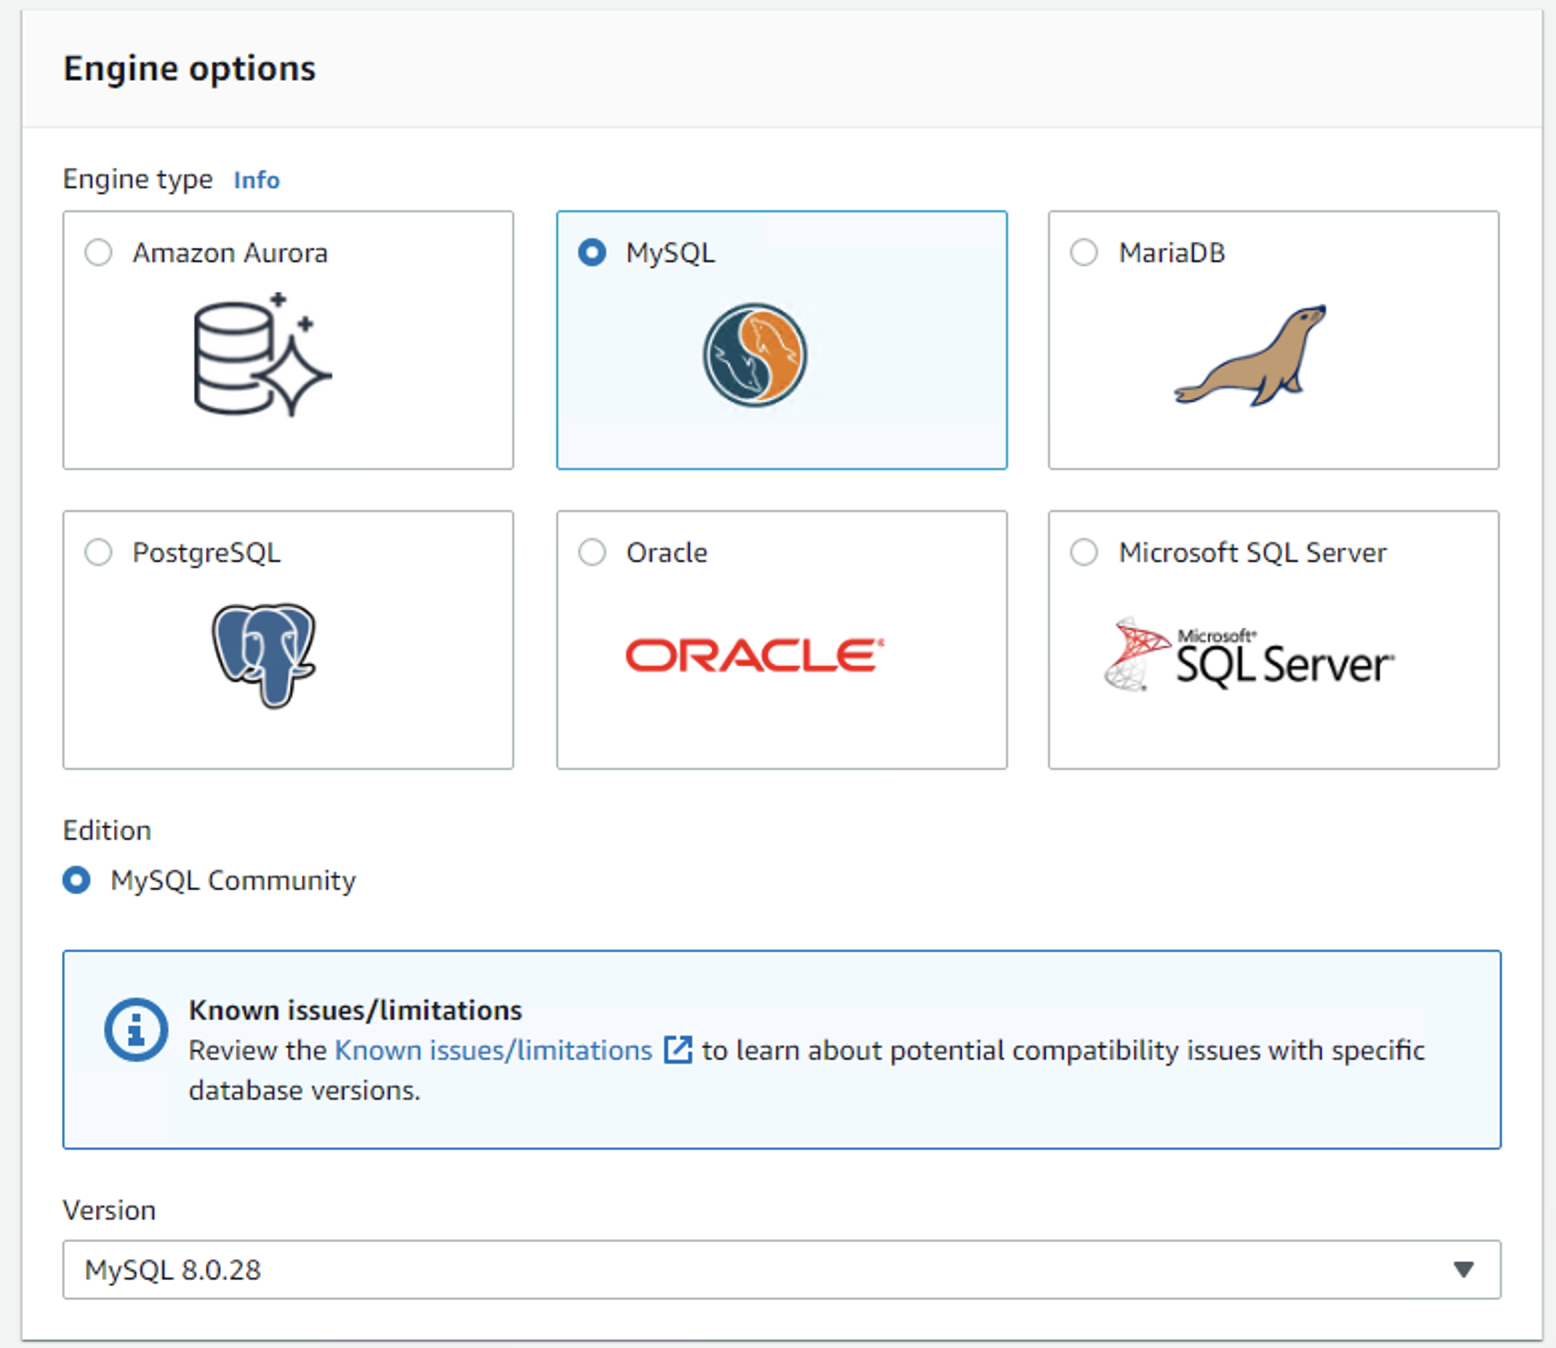
Once the RDS server is set up with the appropriate VPC and security group, we can return to our EC2 instances.
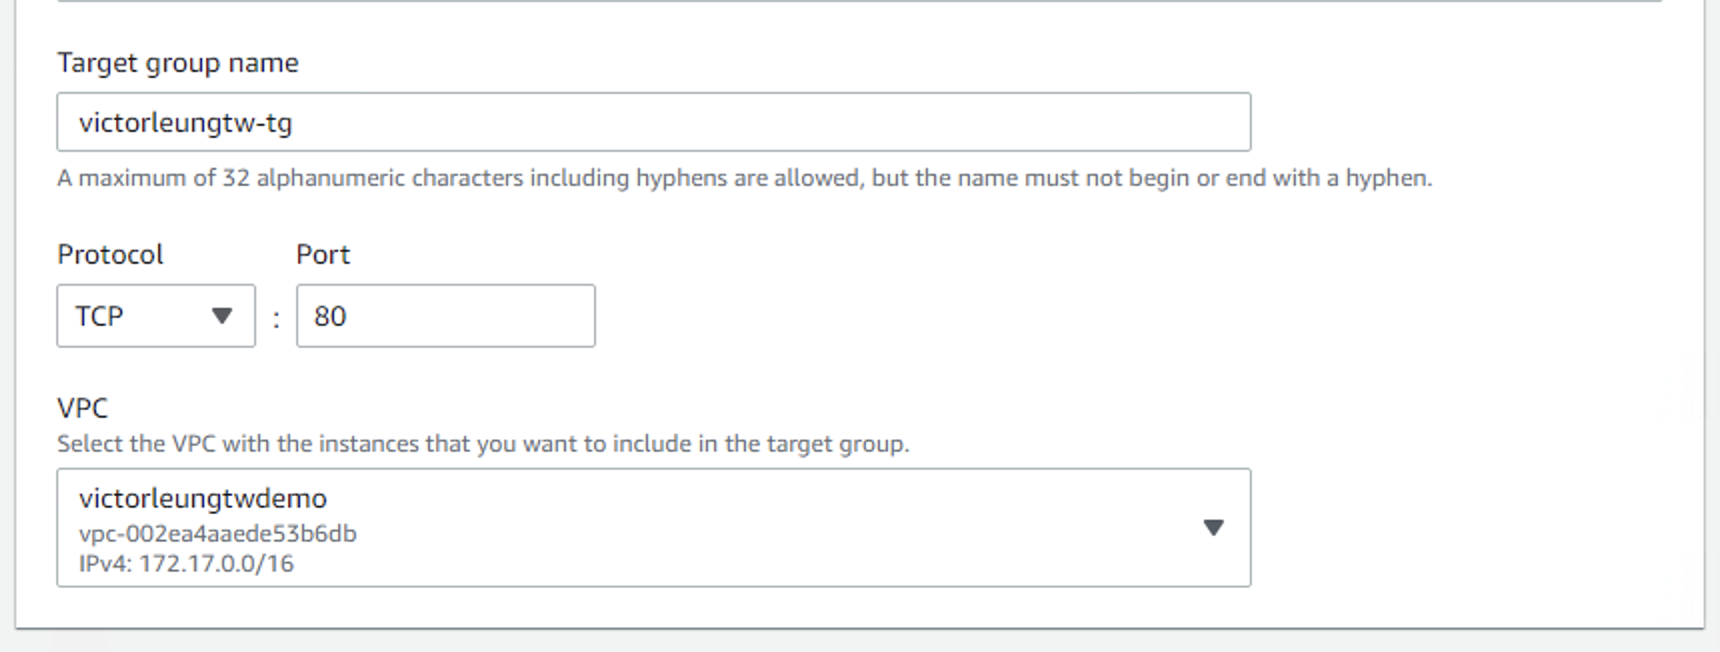
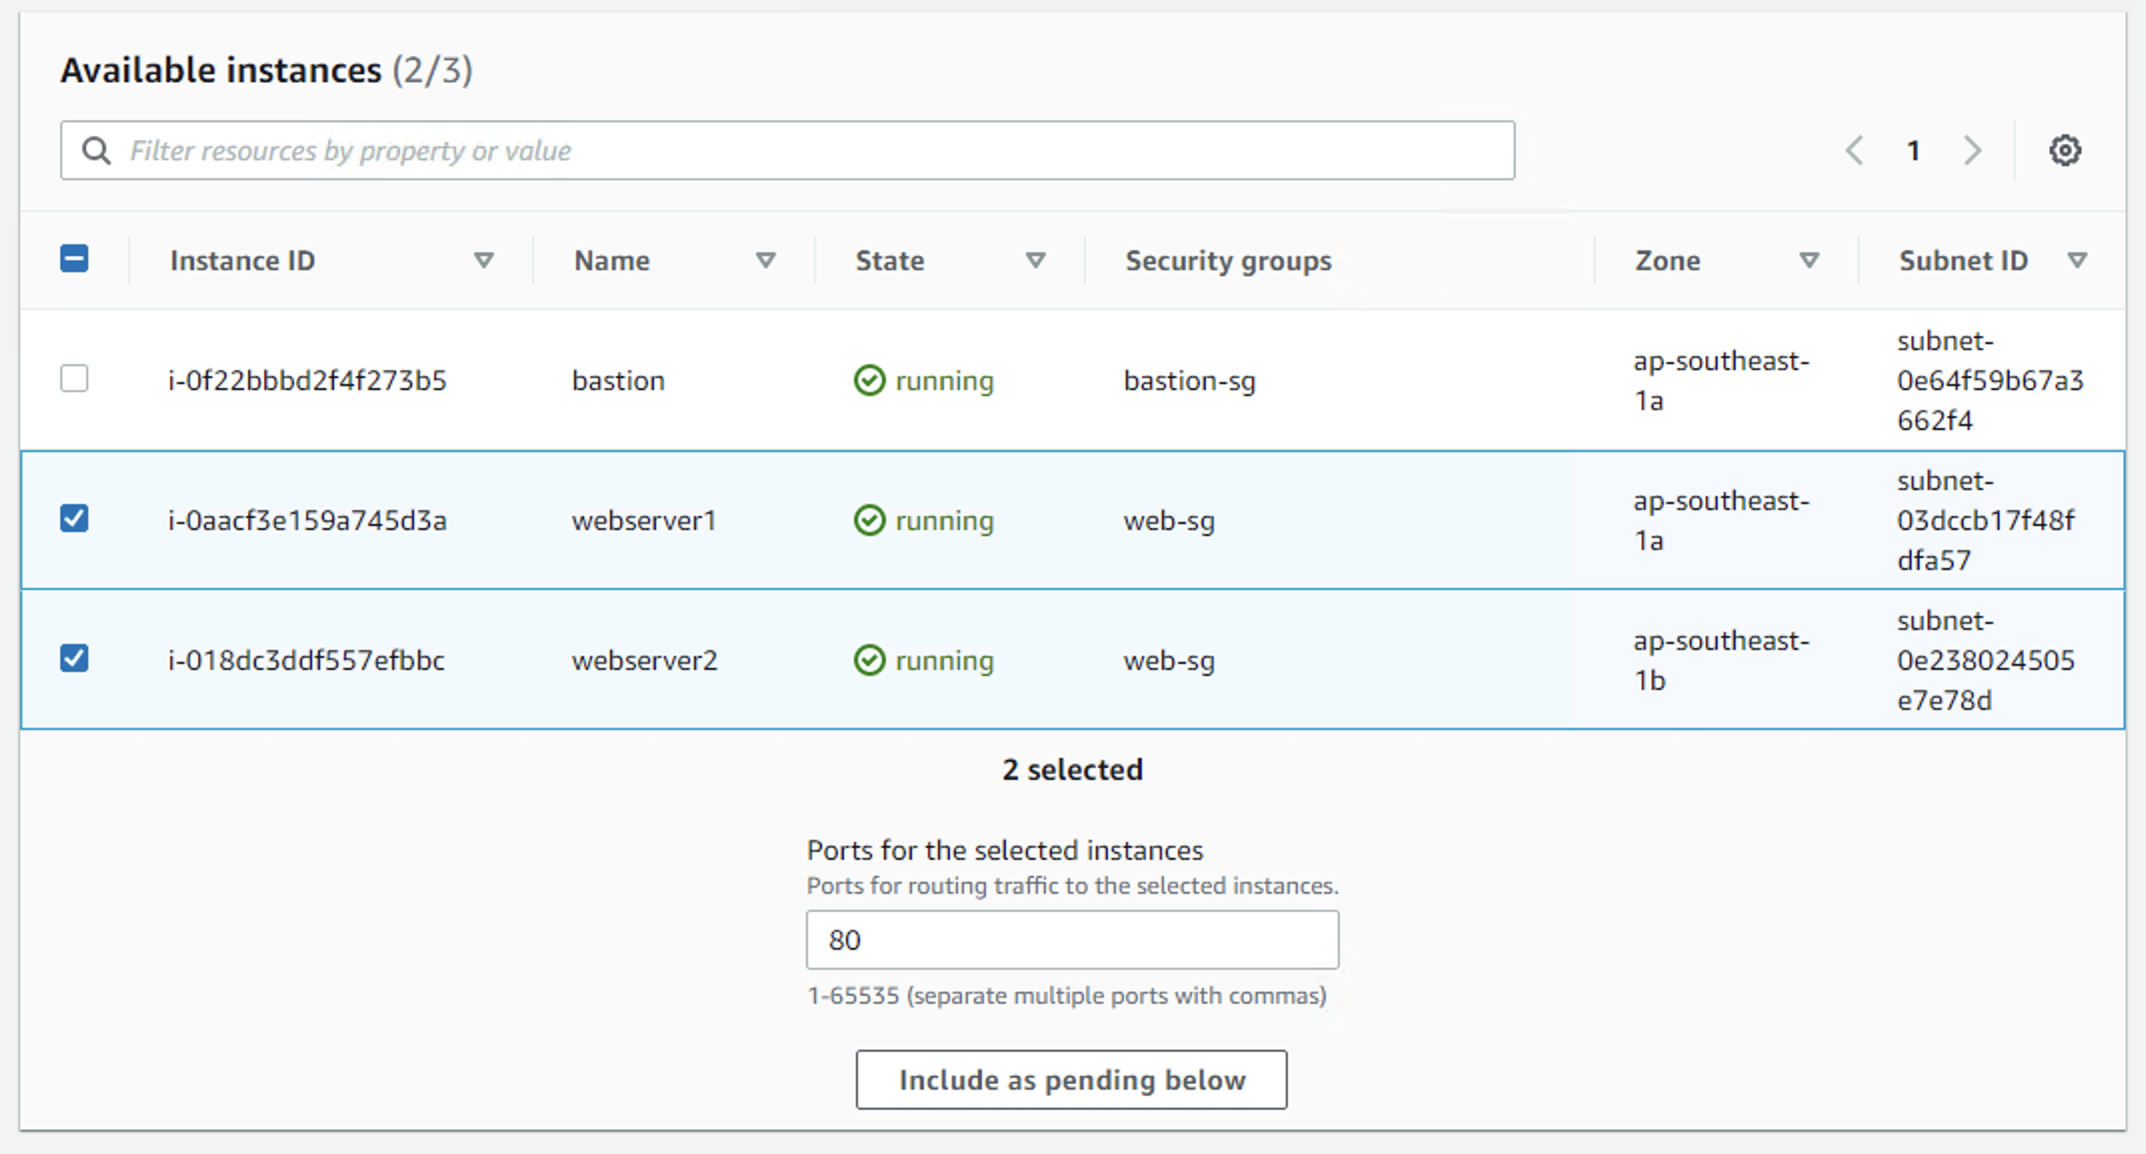
Next, I'll set up a target group for the web servers and add them to it.
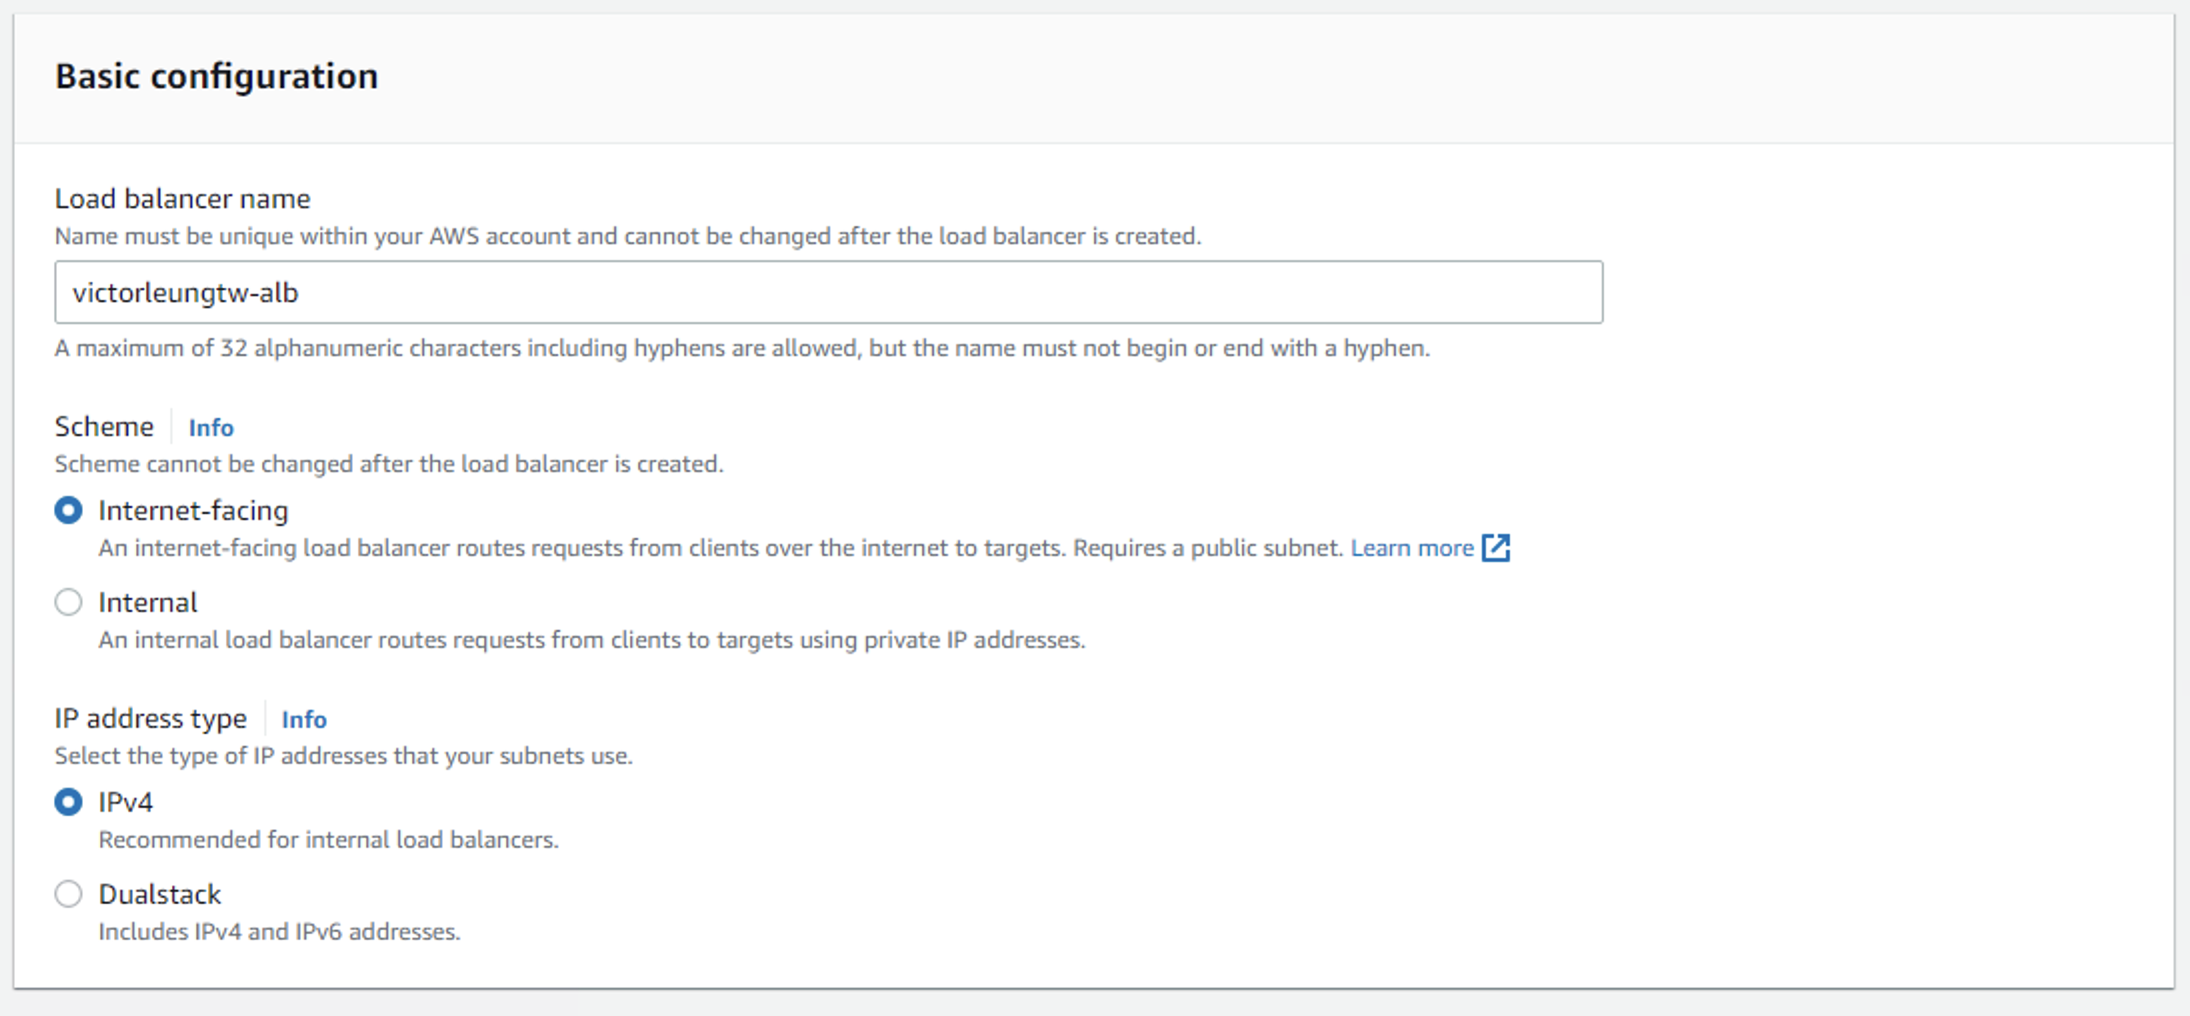
Lastly, I'll create an application load balancer.
With everything set up, we can now test the system. From the bastion host, I can SSH into both web servers, launch an Nginx server, and verify access to the database from the application layer.
That wraps up this guide to setting up a three-tier architecture on AWS. If you have any questions, feel free to connect.