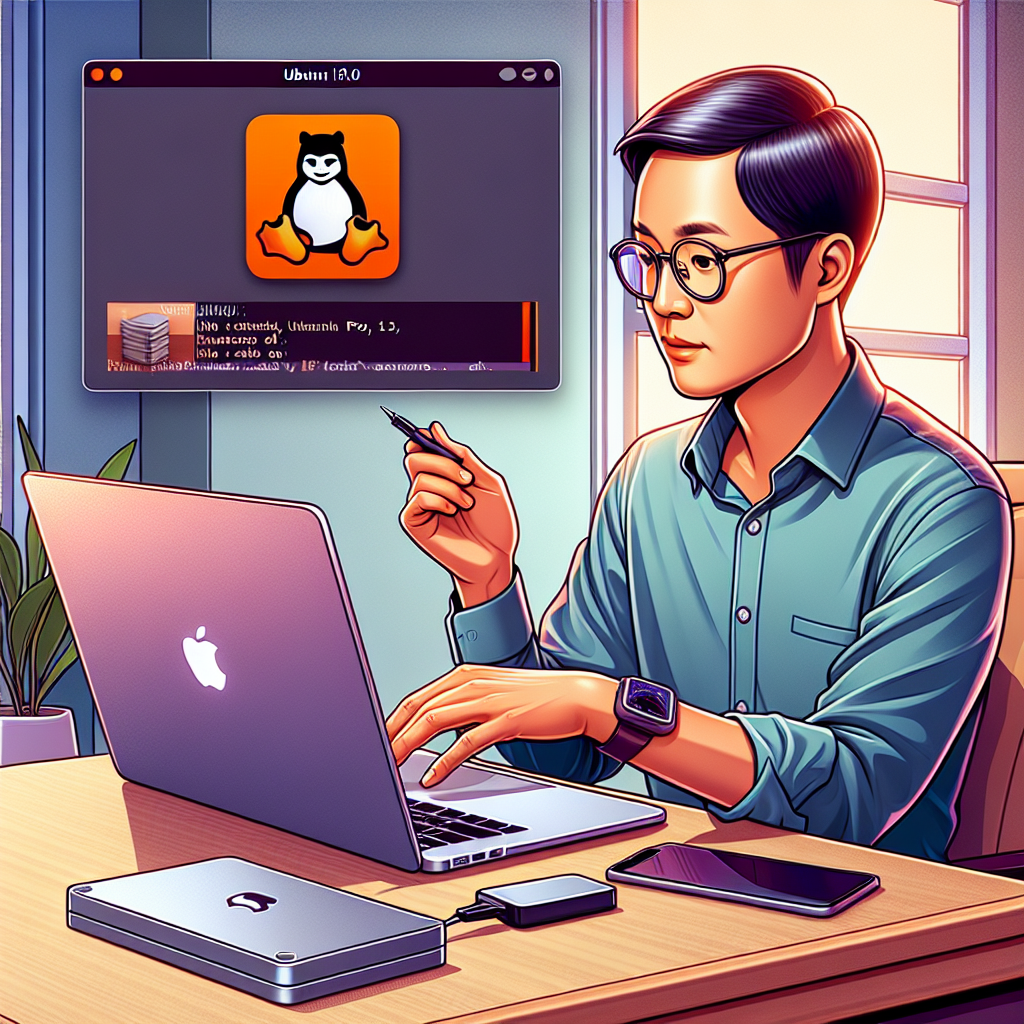
Installing Ubuntu 19.10 on a MacBook Pro 13,1

I became frustrated with macOS Catalina and decided to switch to Ubuntu as the primary operating system on my 13-inch MacBook Pro without a touch bar. As a software developer, I found that macOS bundles many tools with Xcode, which takes up to 10GB of disk space. While disk space wasn't my primary concern, sometimes the network can be slow for downloads, and updates can get stuck. Losing an hour to such issues is an unnecessary obstacle when trying to get work done.
I was initially concerned about whether the proprietary hardware would be compatible with an open-source Linux distribution. To my surprise, many features work right out of the box with a fresh install, thanks to the community's efforts. This includes the screen, keyboard, touchpad, and Wi-Fi. The only feature that doesn't work is the audio, but this can be circumvented using my USB Type-C headphones or an HDMI external monitor with speakers. This GitHub page offers excellent documentation on the compatibility of different MacBook hardware with Linux: MacBook Hardware Support on Linux.
If you're interested in trying Ubuntu on your MacBook Pro, here are the simple steps to follow:
- Download Ubuntu 19.10 from the official Ubuntu site.
- Create a bootable USB stick using Etcher by following the steps in this guide: Create a USB Stick on macOS.
- Restart your MacBook and press the Option key to select the USB stick as the boot device.
- Try Ubuntu and proceed with installation if it suits you.
That's it! As a developer, you can quickly set up essential tools like Git by running sudo apt install git. This is more straightforward than on macOS, which restricts your freedom in various ways. It's good not to become too comfortable with a single platform, as you can't always trust big corporations to act in your best interest—such as protecting your personal data from government surveillance. Embrace the open-source community and appreciate the freedom to choose an alternative operating system.
P.S. 1: To get Bluetooth working, run the script found in this repository:
P.S. 2: To get the camera working, install the driver by following this guide: